NyxCharon
Active Member
Anyone else have one?
I'm currently working on using a IR remote and some steppers together to control a catapult.
For those of you who don't know what I'm talking about:
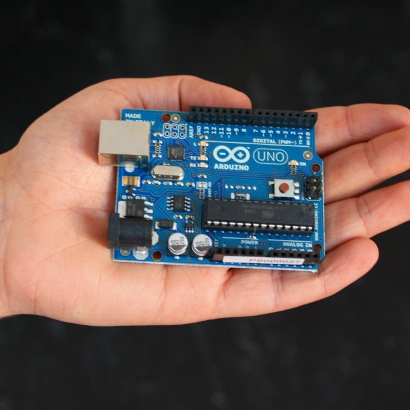
http://arduino.cc/
Cost around $30 and the amount of stuff you can do with them is limitless.
It uses a basic IDE and a java like syntax to program.
I'm currently working on using a IR remote and some steppers together to control a catapult.
For those of you who don't know what I'm talking about:
http://arduino.cc/
Cost around $30 and the amount of stuff you can do with them is limitless.
It uses a basic IDE and a java like syntax to program.

