Another re-build thread: C2Q PC rebuild

spirit

Moderator
Staff member
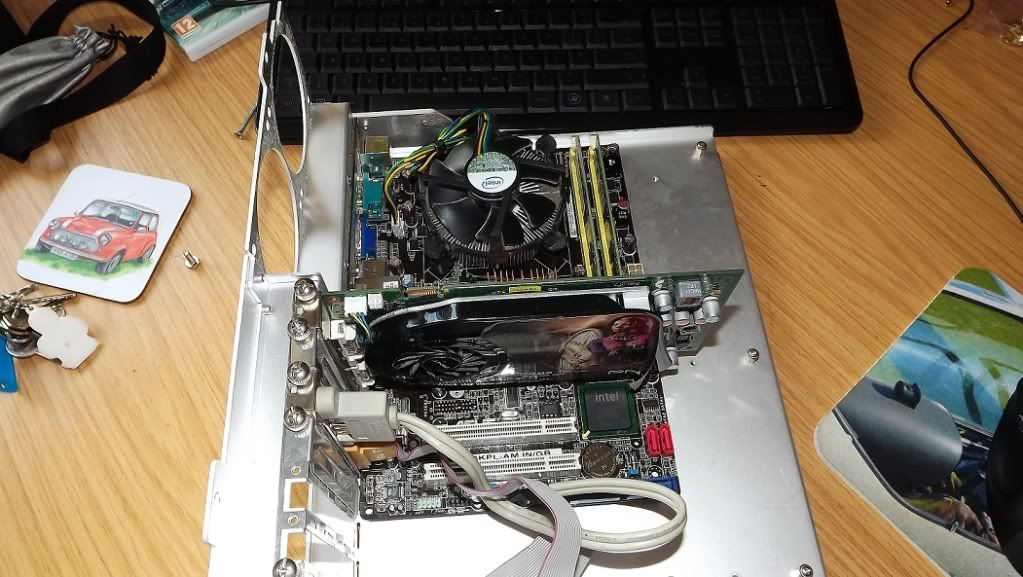
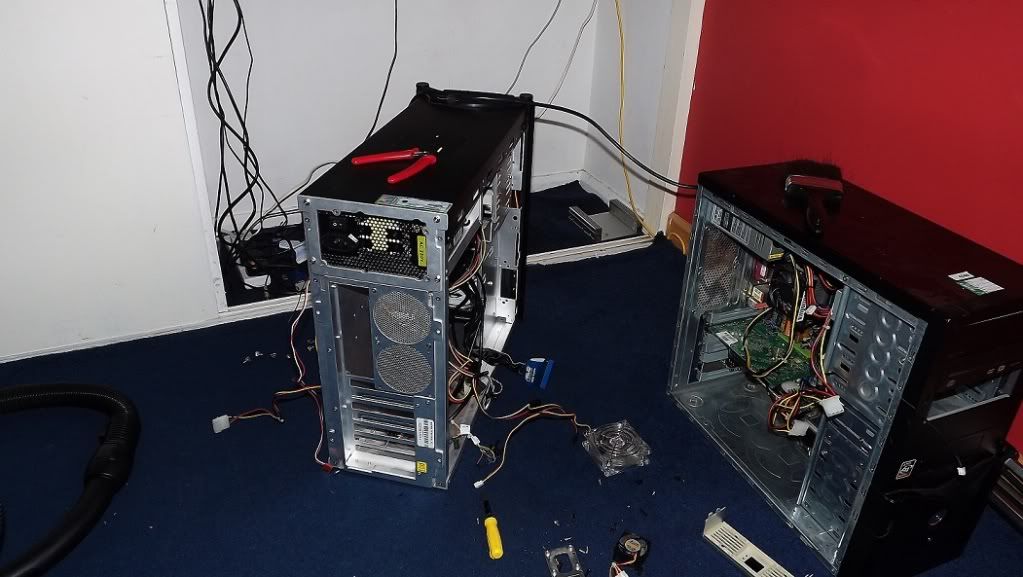
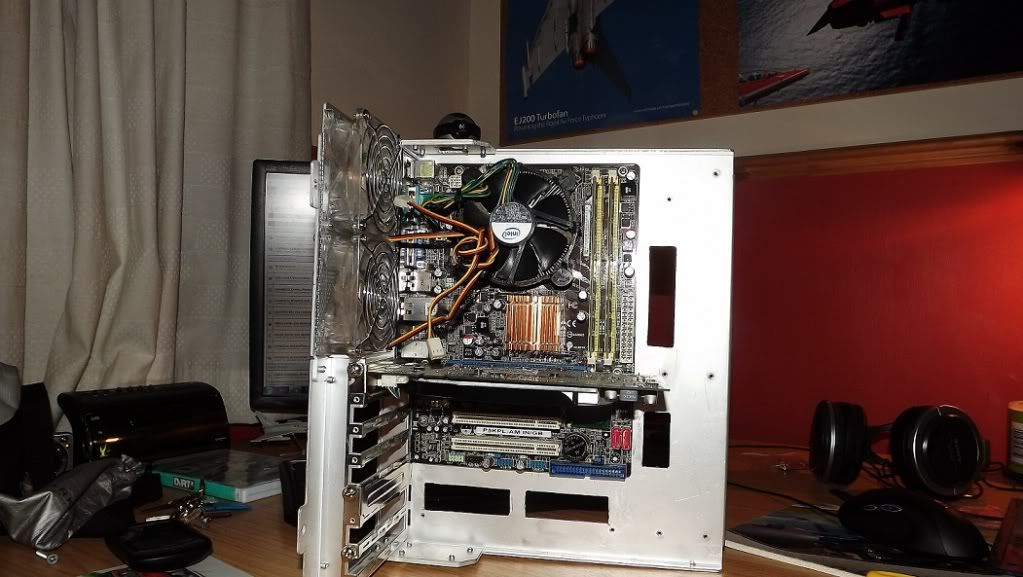
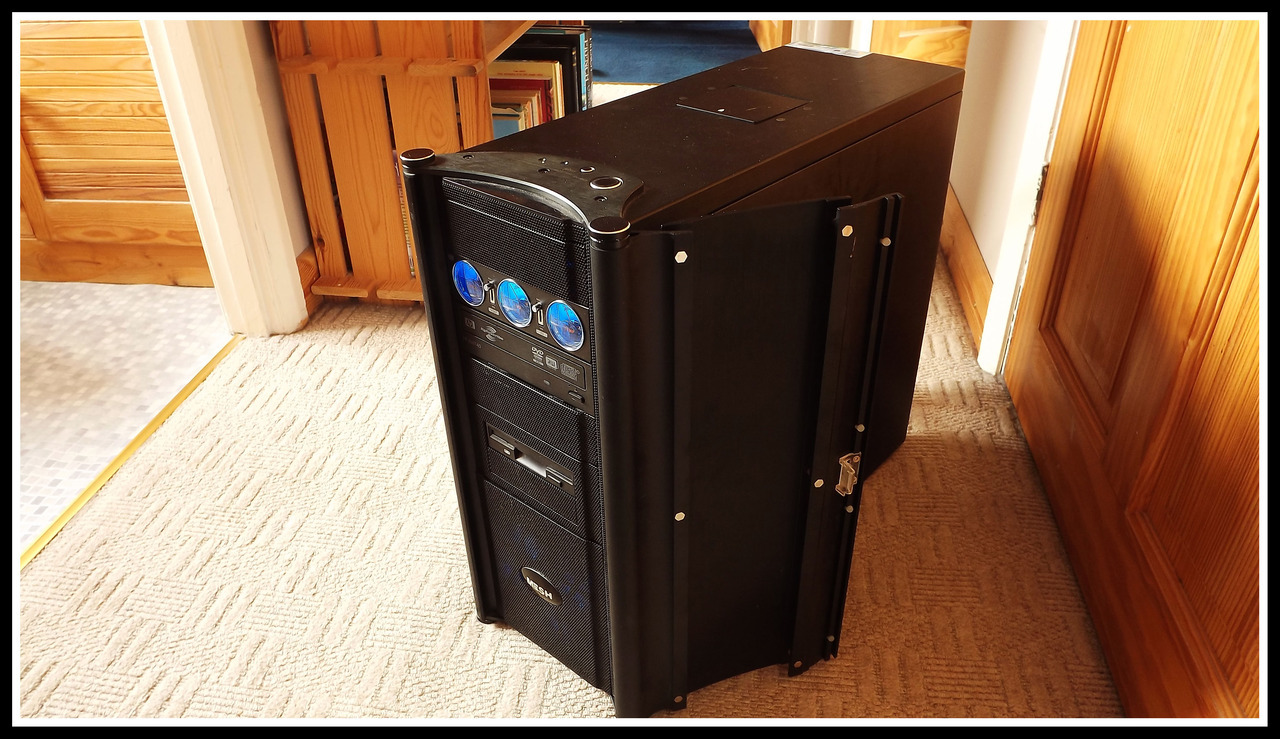
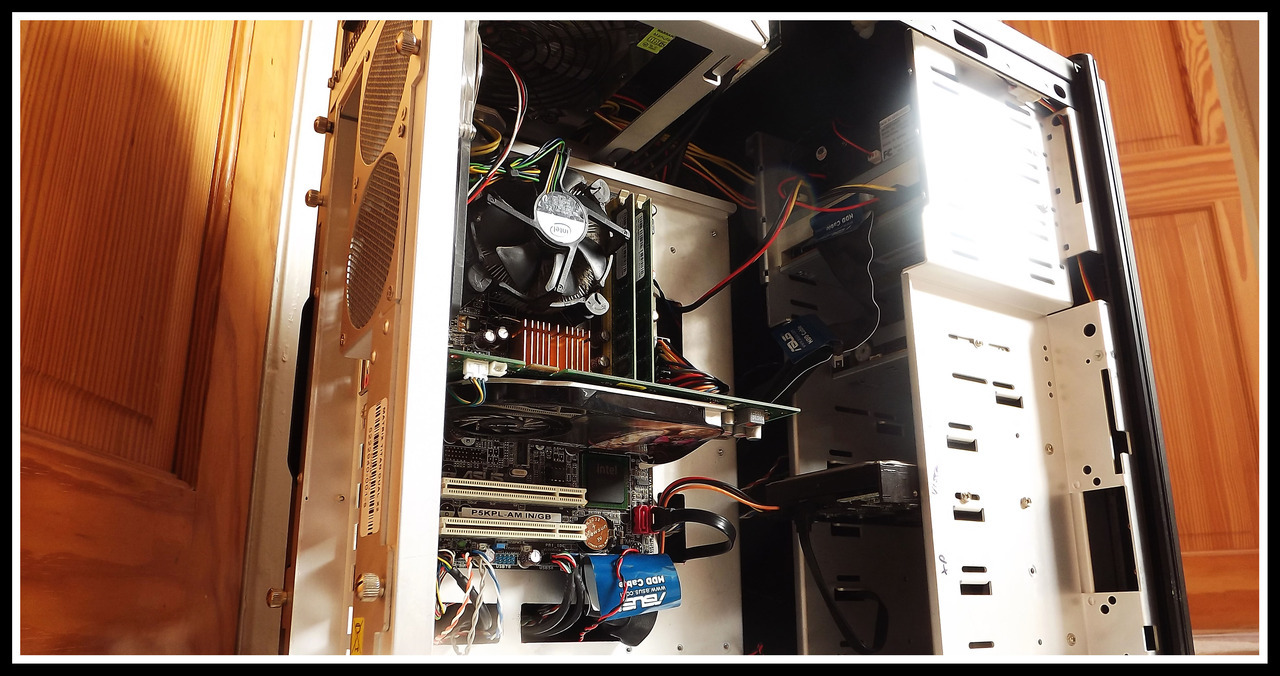
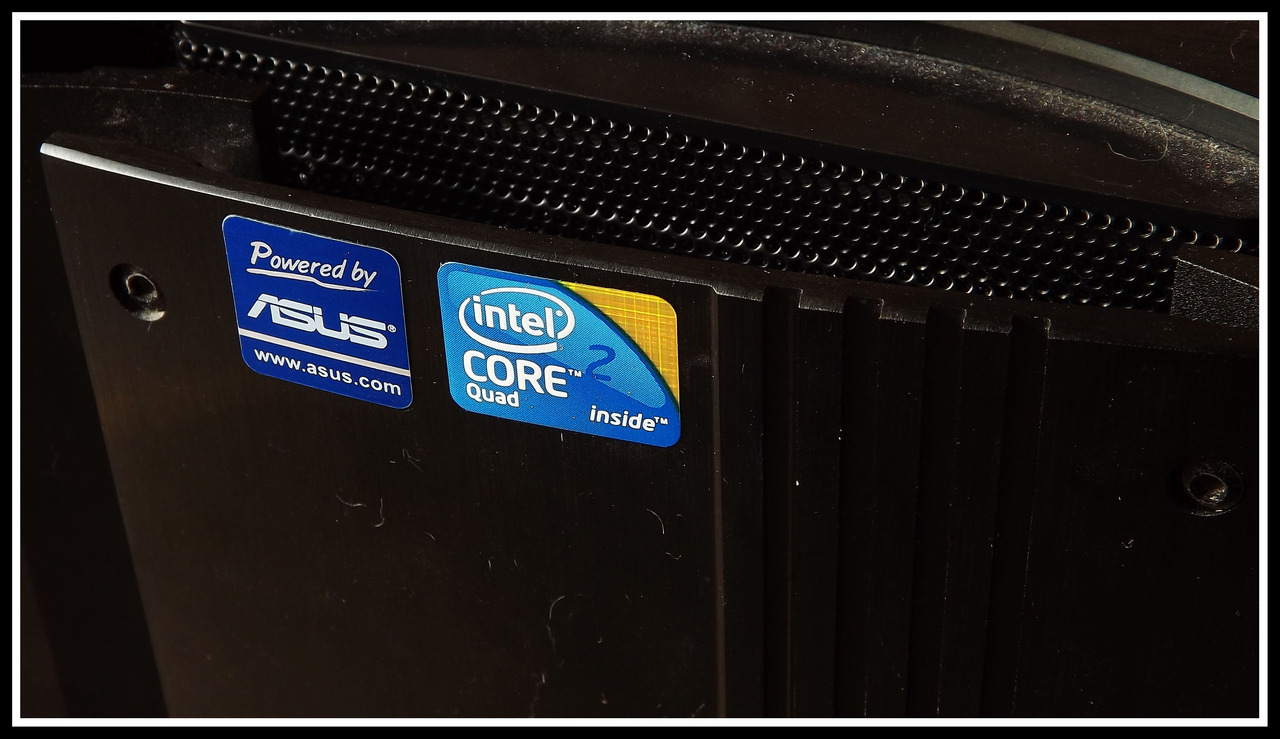
OK so it's been raining this afternoon and I've not had anything better to really do, so I decided I'd have a stab at re-building my Core 2 Quad PC, dusting it down, generally improving stuff etc. It hasn't ever been properly dusted and it's a good 3 years old, so there was quite a lot of muck!

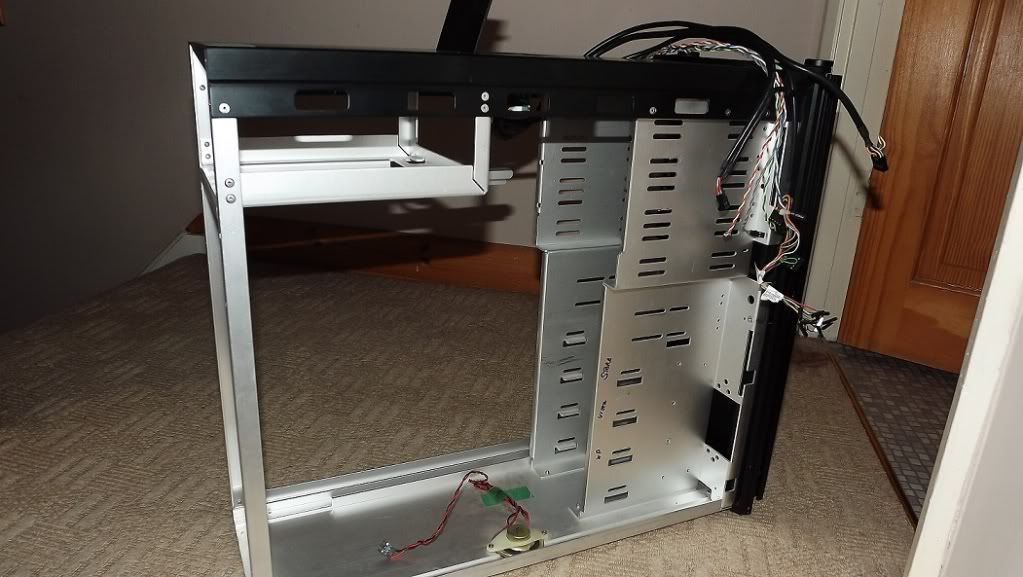
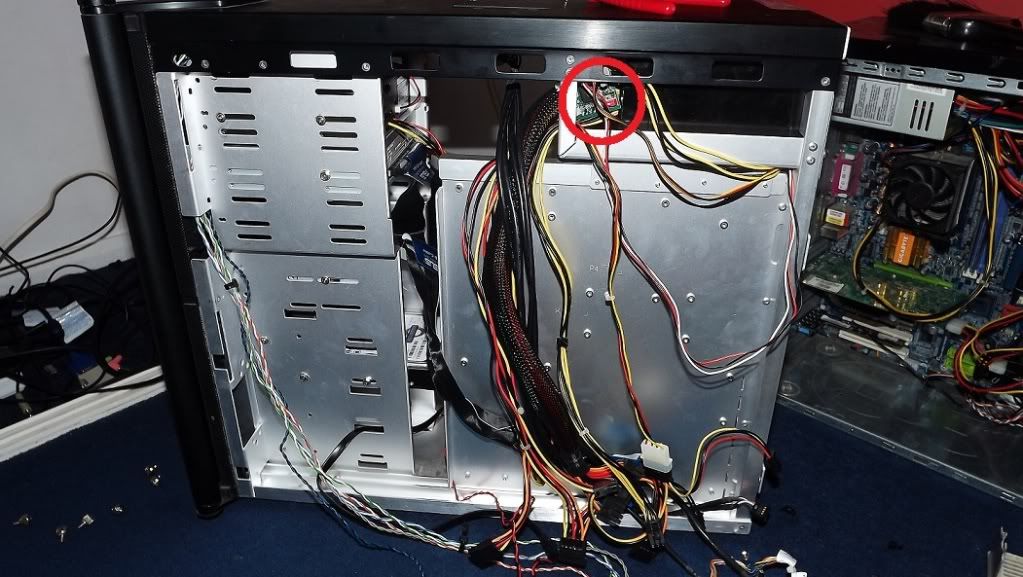
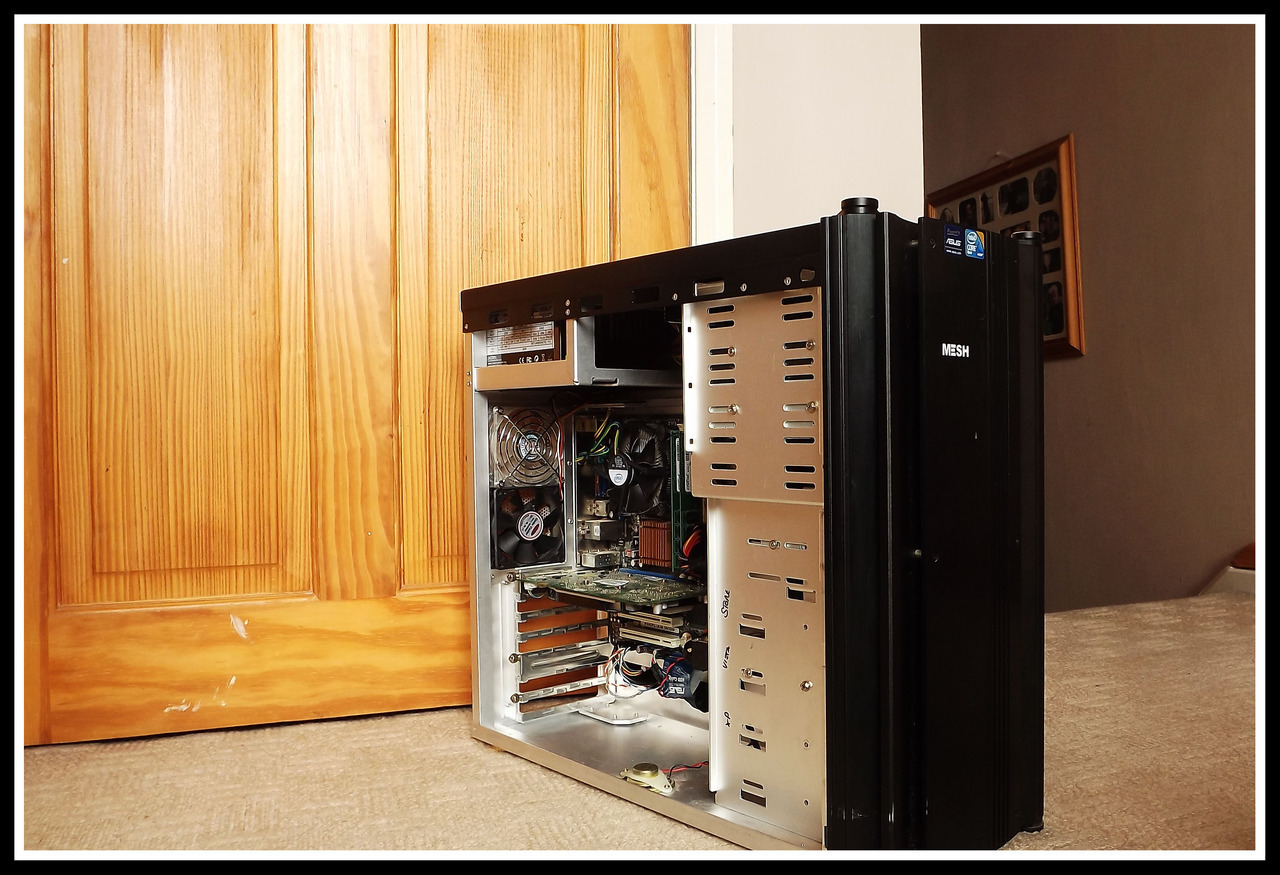
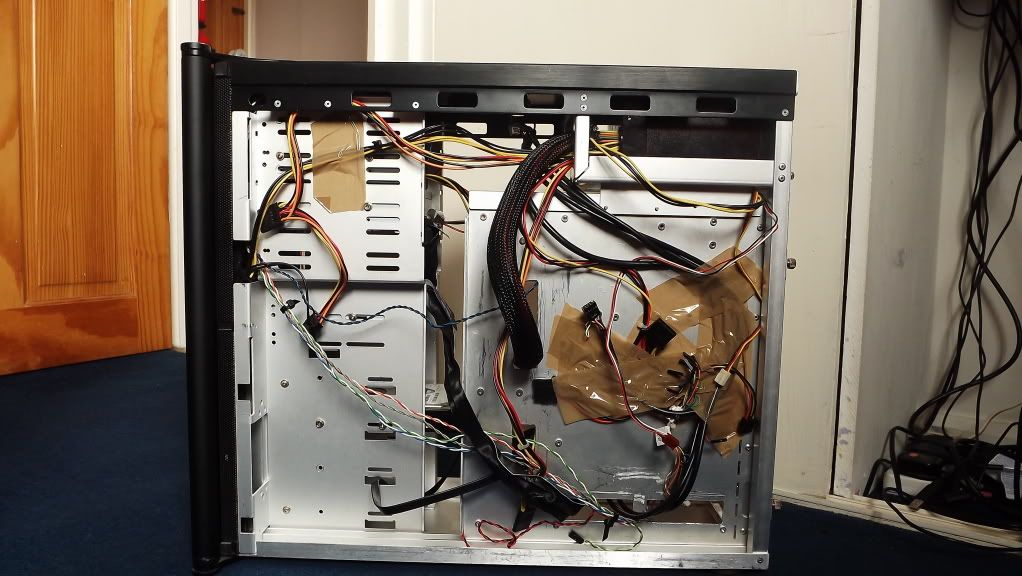
The thing I did was unplug the motherboard from everything and then simply pull the motherboard tray out of the case. This is one of the very few cases which I have used where you can actually the whole motherboard tray. This meant I didn't have to bother actually removing the board and graphics card, I just pulled them straight out.

DSCF8422.jpg


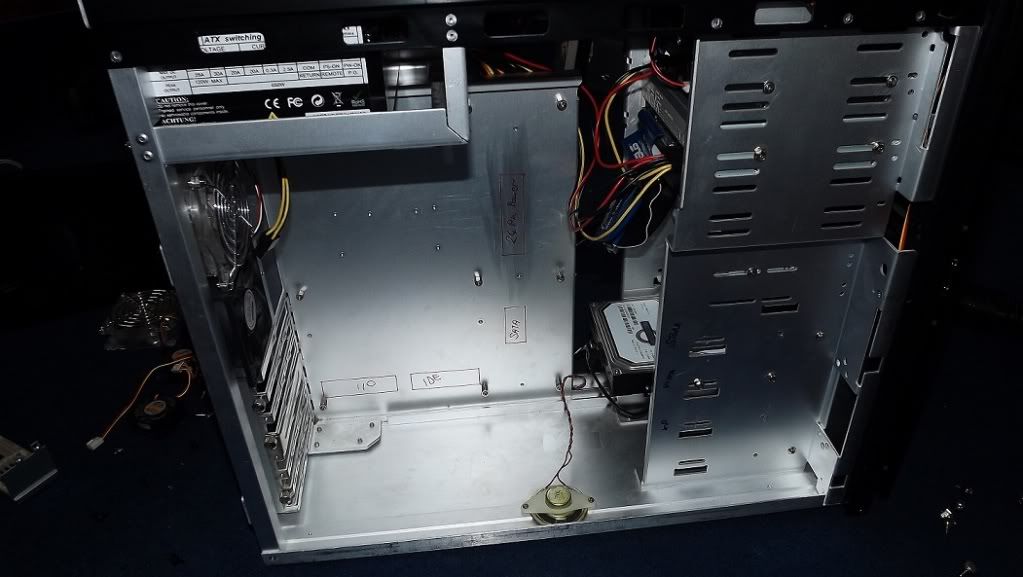
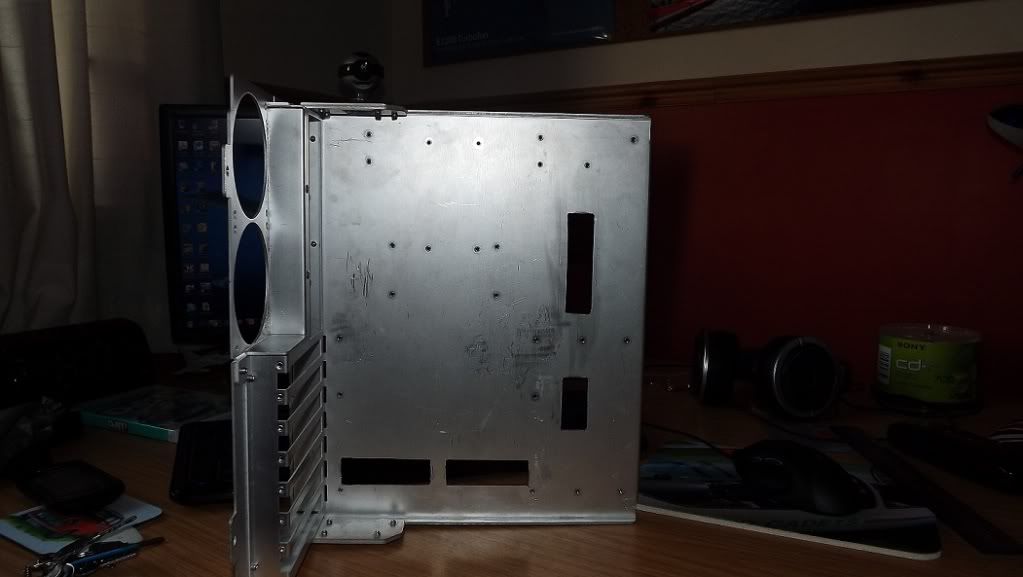
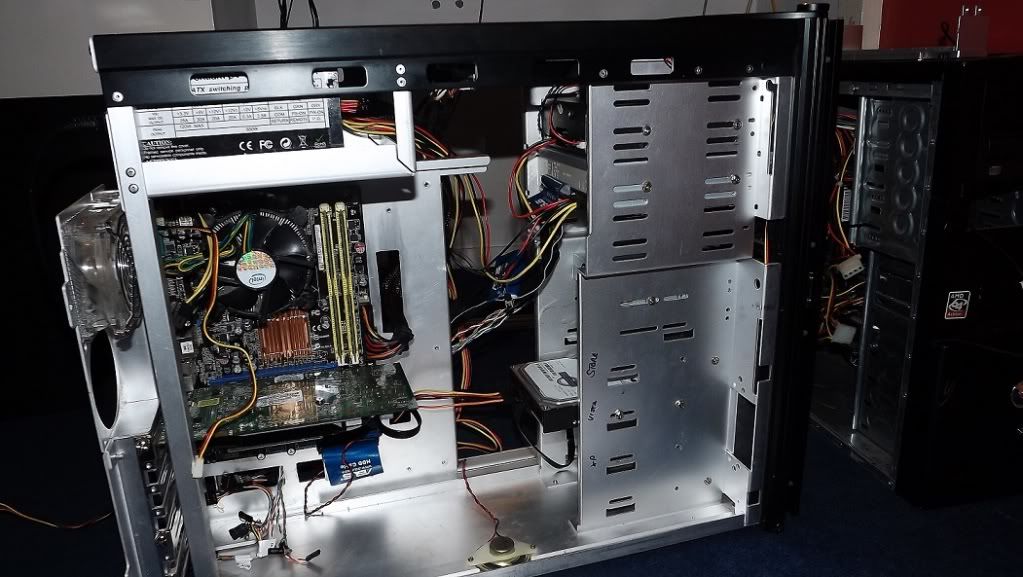
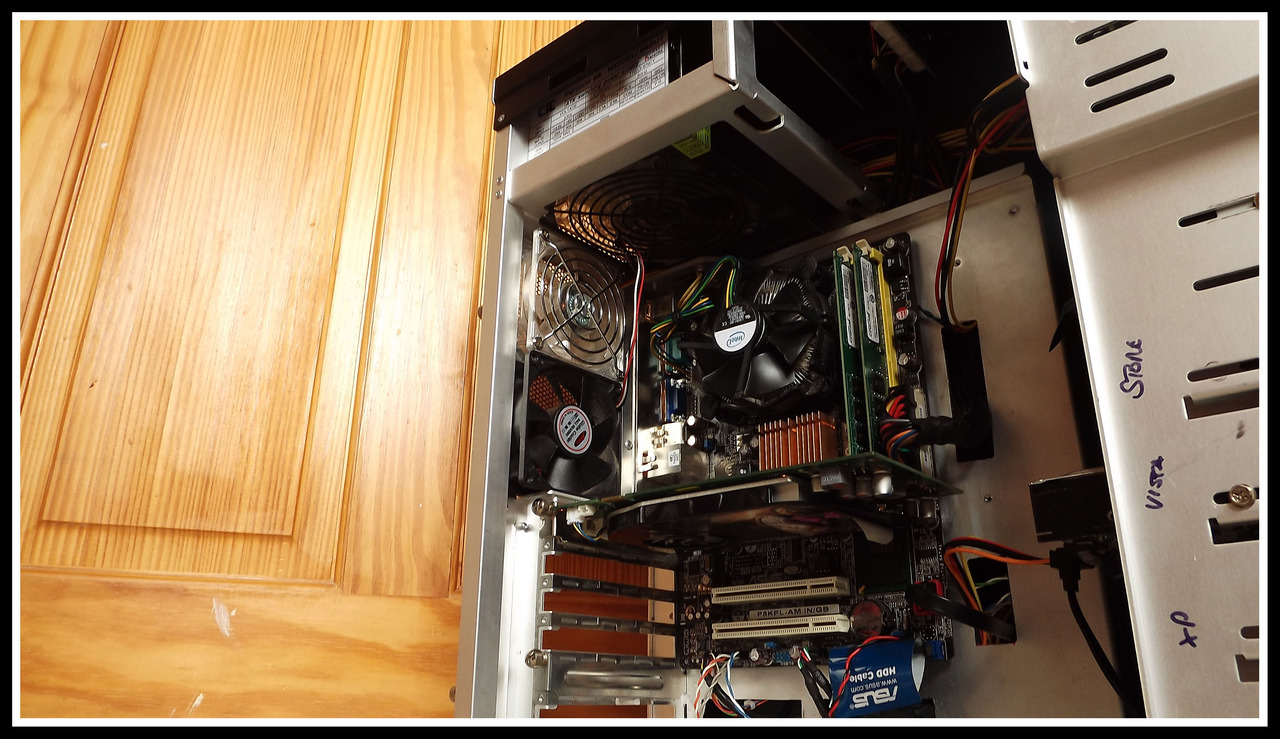
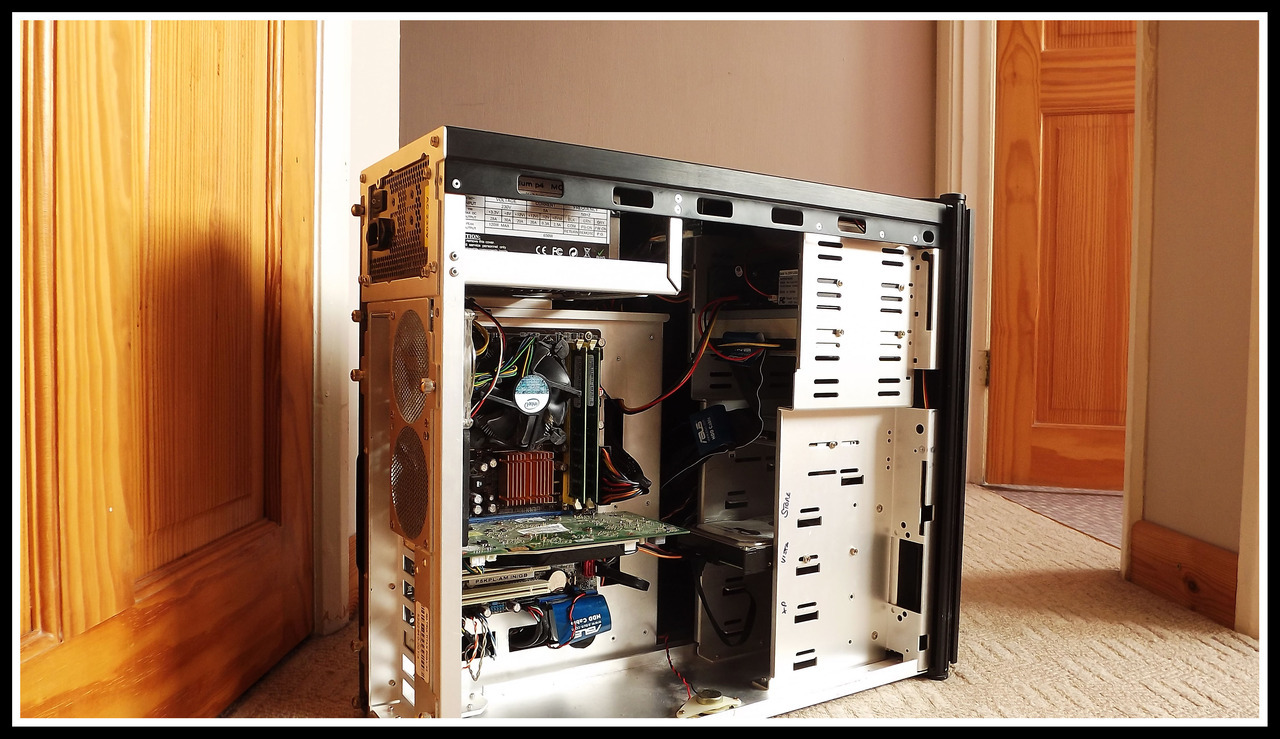
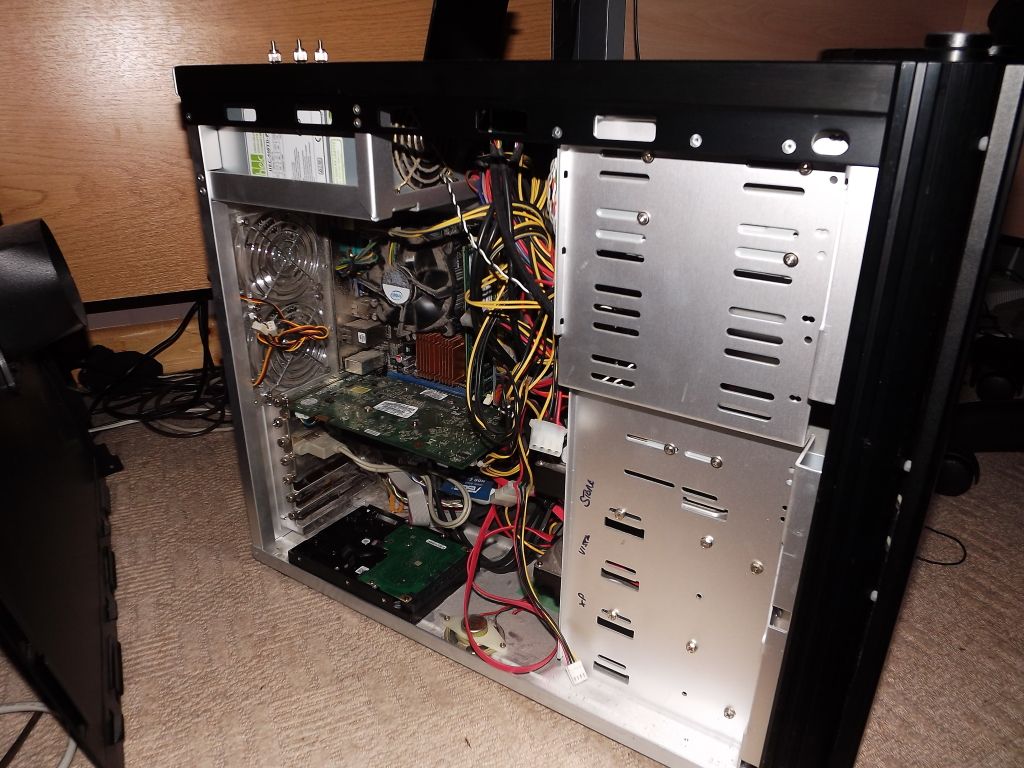
After having removed the power supply and some other stuff after that, this is what I was left with.

DSCF8426.jpg


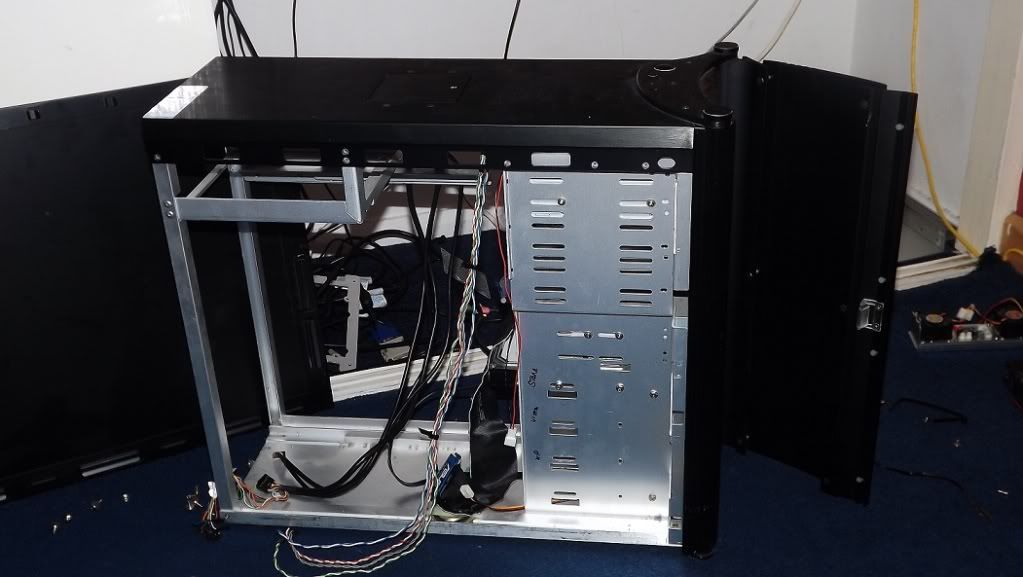
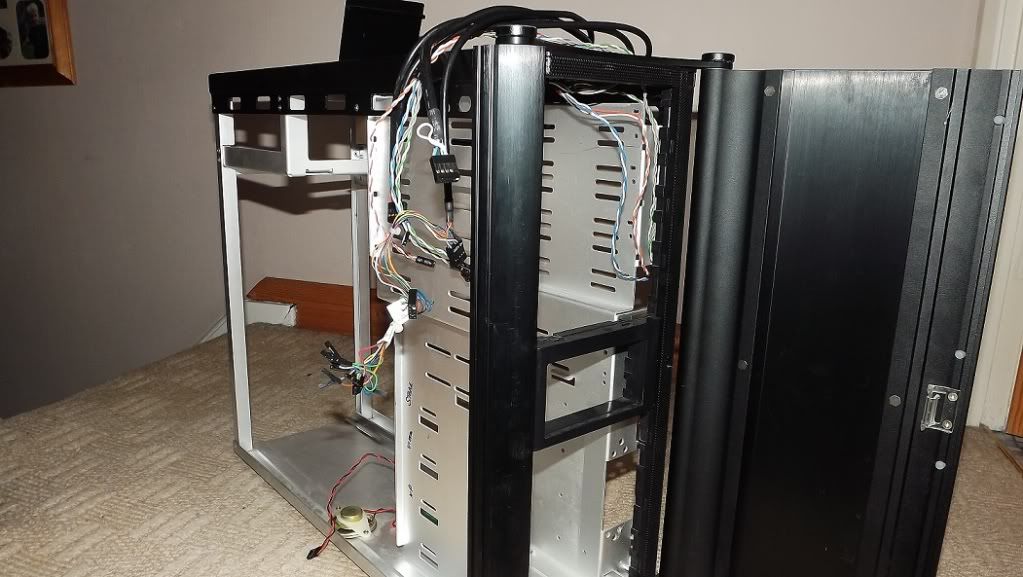
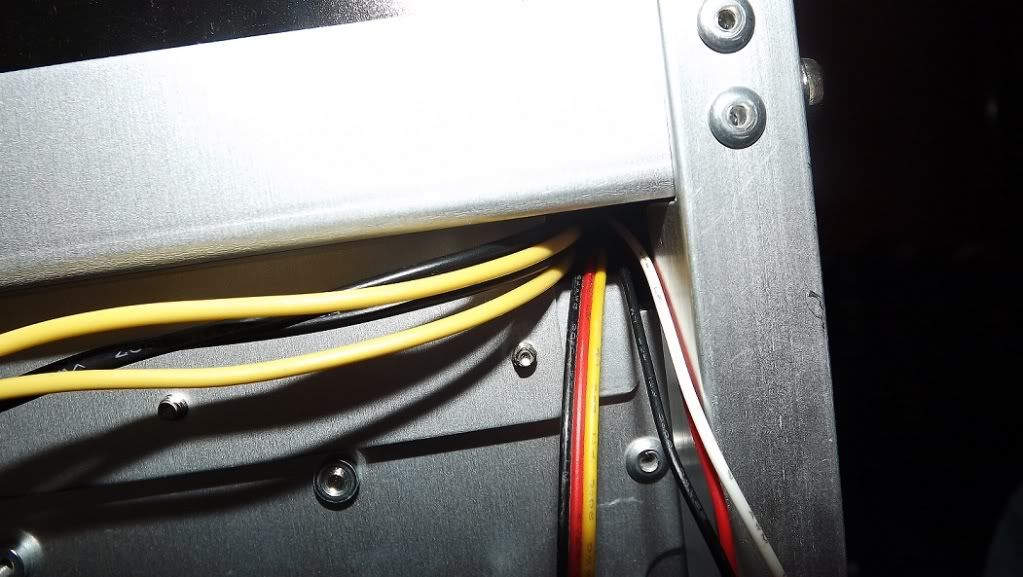
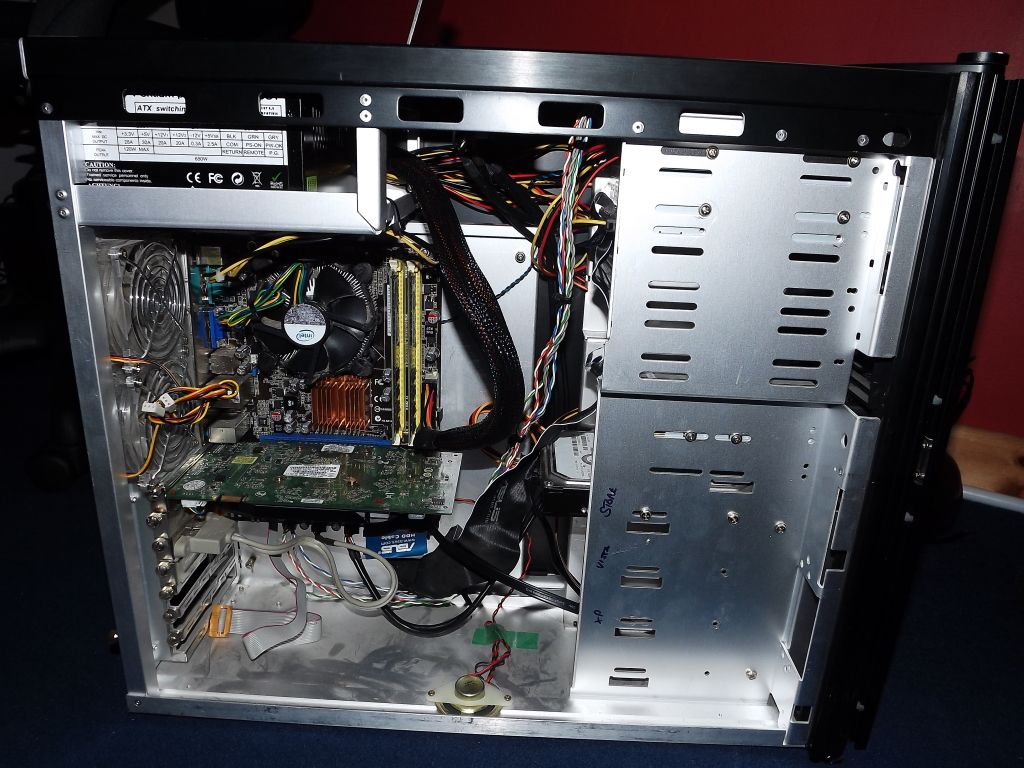
I then re-routed all the power/reset buttons and activity LEDs through the side of the case and then out onto the other side, hidden away. The photo above shows the cables as they were, just literally hanging around inside the case.

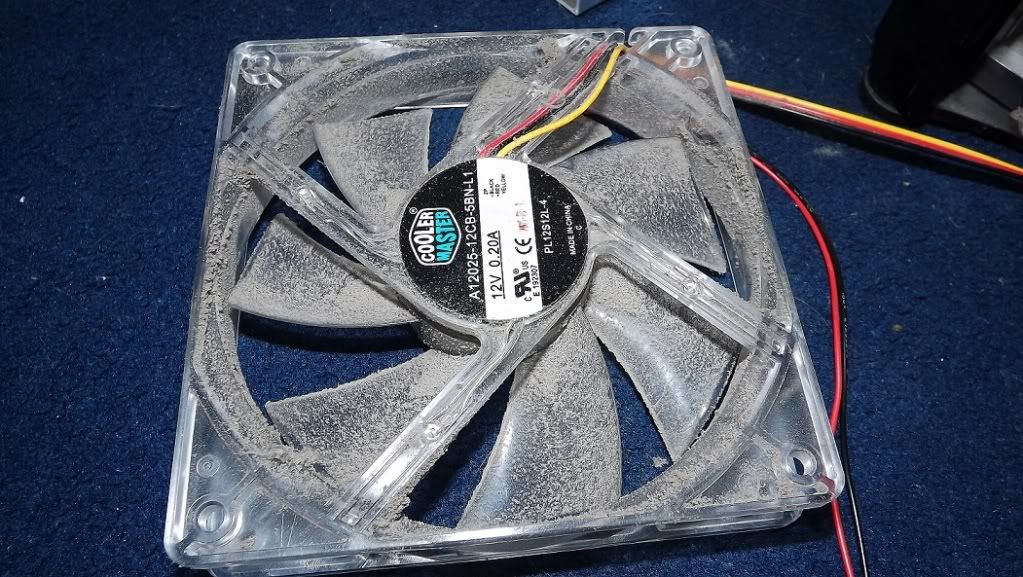
I noticed the blue LED fan looked just a tad dusty, so I thought I'd dust it down. Sadly as I ran out of compressed air and I didn't want to wait and go and use my friend's compressor, I just went outside and used an old paintbrush to get rid of the grime which had accumulated on the fans.

Went from this...

DSCF8430.jpg


DSCF8432.jpg


...to this...

DSCF8436.jpg


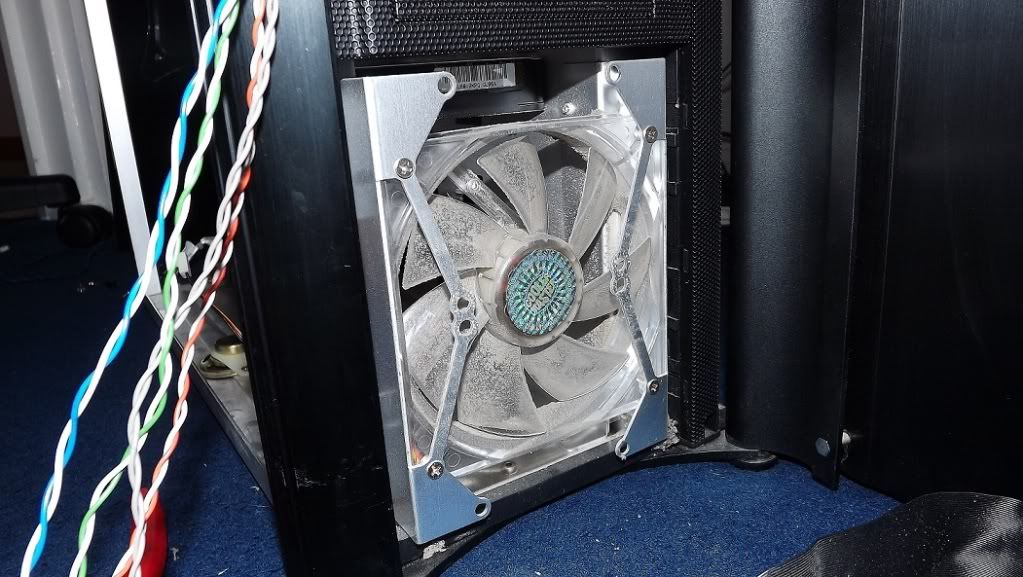
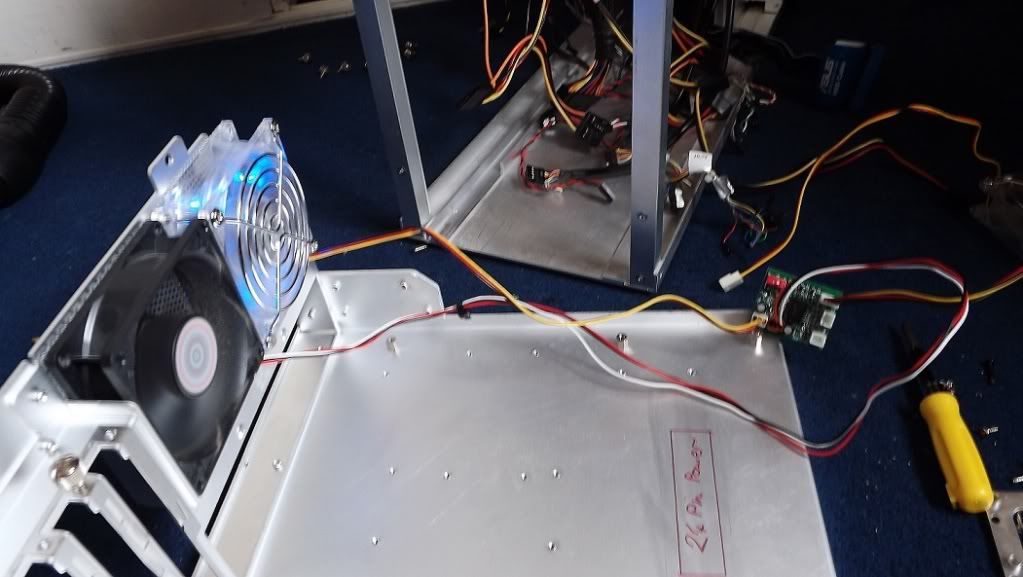
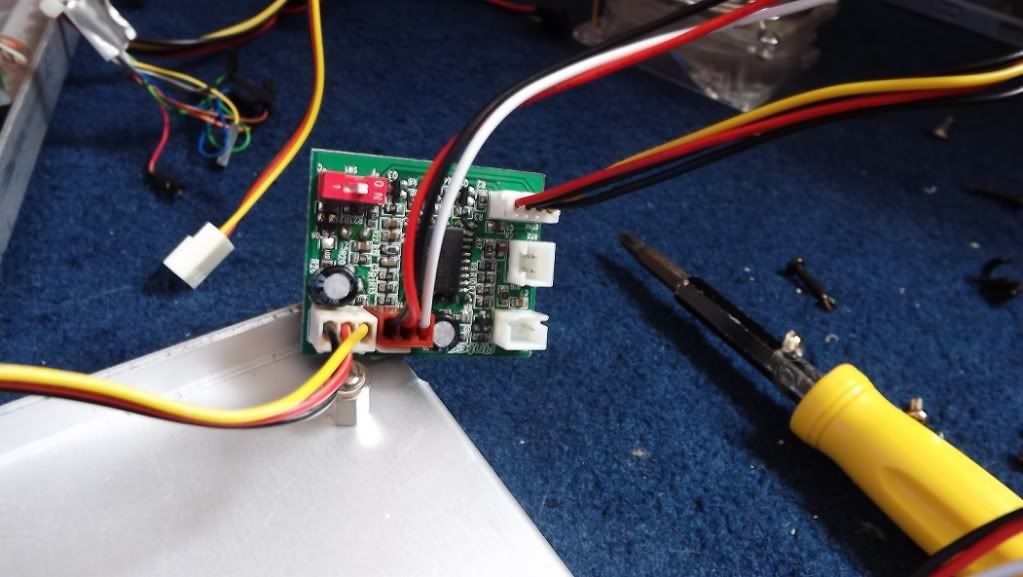
I then re-mounted the fan and routed the cables upwards towards the fan controller - before the cable just went through the HDD cage and then upwards, now it's all hidden away and you can't see it.

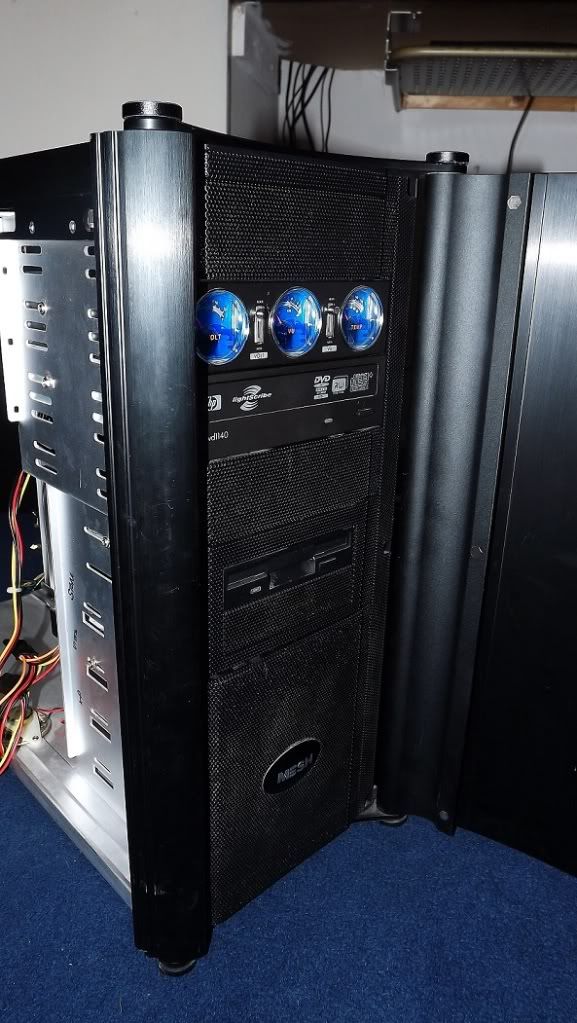
I gave the case a bit of a dusting down too. Sadly it was raining outside, so I couldn't go out there and do it, so I just used a hoover to suck up the bigger dustballs and then used a paintbrush to sweep away the smaller bits.

DSCF8439.jpg


DSCF8440.jpg


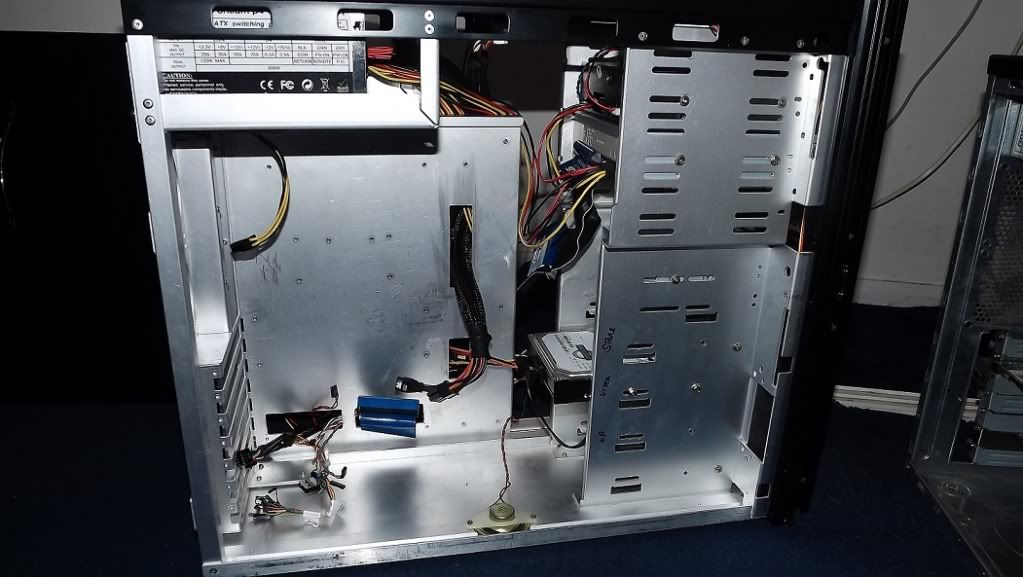
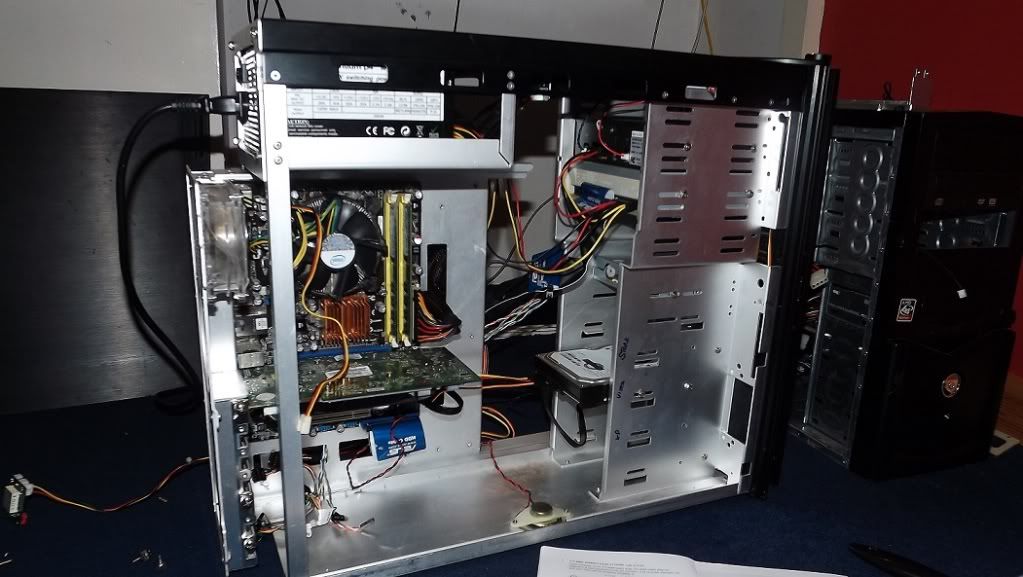
After that I put my power supply and hard drive back in, and now the really challenging stuff starts.

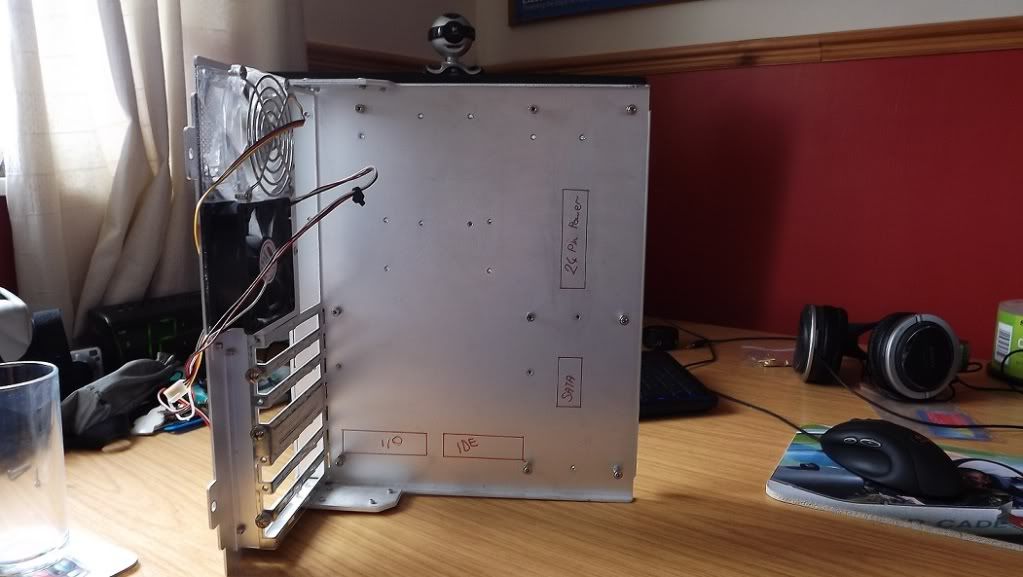
The motherboard tray does not have any holes in it for cable management, so I'm going to ask one of my friends with some of his metal working equipment to see if he can cut me some holes in the tray for me so I can route the cables through the holes and then plug them into the board.

Here are my ideas for where the holes should go.

CMplans1.jpg


So one for the front panel USB cables, one of the IDE cable to the DVD drive, one for the SATA cable to the hard drive and one for the 24-pin power cable.

CMplans2.jpg


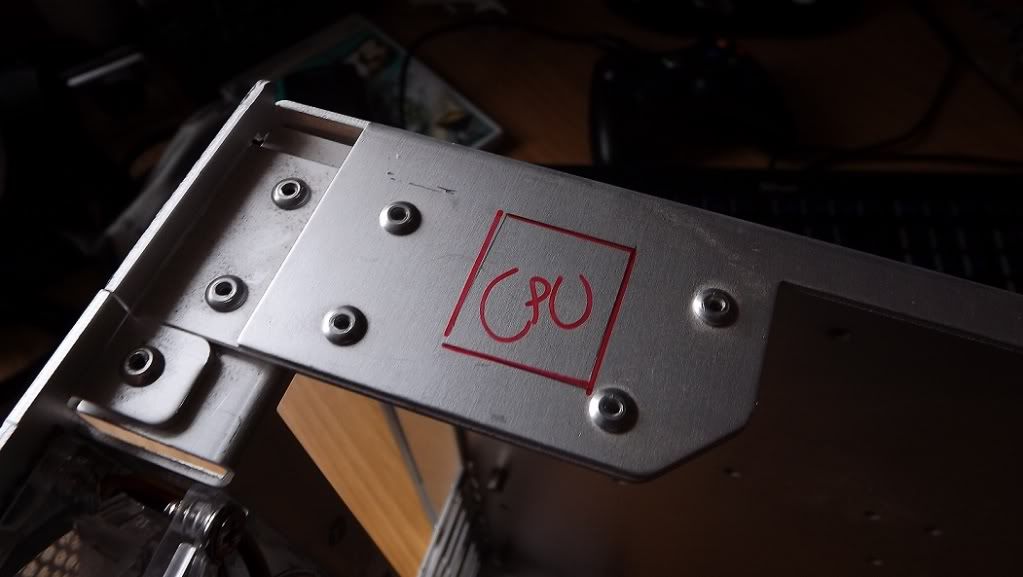
Also one in the top for the CPU 4-pin power.

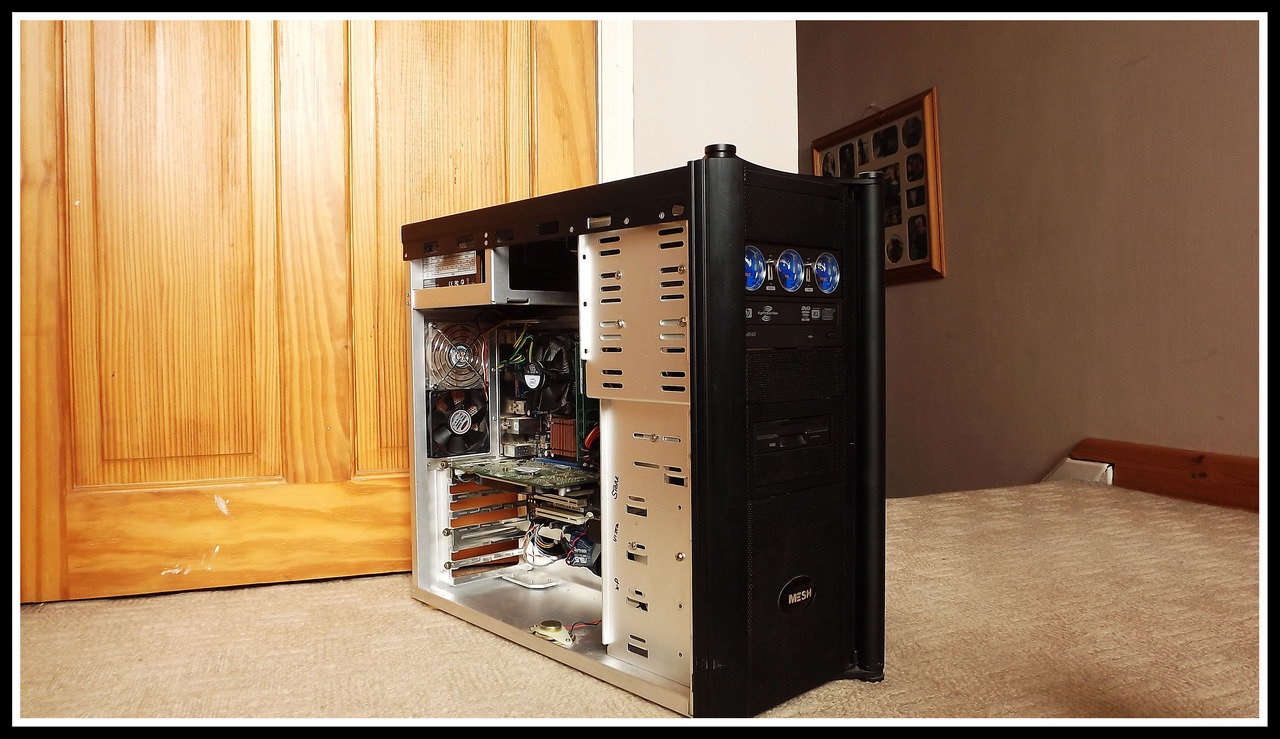
So it's still a work in progress, but it's getting there. :)
 
Nice project. What case is that?

After I mod a fan into the bottom of my case I'll be able to route a couple cables like I want. My tray has cutouts and since I have some rubber molding that fits I might put some on those. Maybe it will be ready for next turney.
 
The case is an OEM one from MESH, it's older than the motherboard and CPU and RAM which is currently installed in it.

Yeah looking into getting holes cut into the board tray so I can route the cables easier.
 
Update!

So last night I spoke to my friend and he said he'd cut out some holes in my board tray for me, so once I re-installed the power supply and re-routed some of the cables, I drew out where I wanted the holes to be cut.

DSCF8465.jpg


DSCF8467.jpg


That should be enough holes I reckon.

I then set about looking at fans. The fans I'm using in this build all have 3-pin connectors, not molex, so I need to pug them into the motherboard. That's tough when the board I have is a low-end board and does not actually have fan headers on the board itself, so I set about dismantling a molex temperature gauge I had laying around which also supports 3-pin fan connectors as well as temperature probes.

Worked fine!

DSCF8470.jpg


DSCF8471.jpg


As you can see I'm using one LED fan and one non-LED fan. I do have two of those LED fans, but the cables on those LED fans are a bit short, so routing the cables was a pest with two of those LED fans, so instead I got myself a non-LED fan which had a very long cable.

There's a small cut-out in the case in the top left corner, presumably for the 4/8-pin CPU power connector, so as well as routing the 4-pin power cable through it, I also routed the fan cables through it too.

DSCF8475.jpg


I then set about moving all the cables behind the motherboard tray to see how many cables would need fitting behind it - apparently all of them all do. I tired putting the side panel back on and it fit fine, even with all of those cables shoved behind it, so I have no worries about it not fitting.

DSCF8476.jpg


One question I have - would it be OK to leave the little circuit board thing for the fans up by the power supply or would it get too hot and then be dangerous? That's the only place where I can really fit it in easily. :/

The result is the other side of the case, which is the bit which really matters, looks much tidier.

DSCF8478.jpg


Obviously all the cables will be routed through the holes in the board tray which are going to be cut out.

I then set about putting the front of the case back together.

DSCF8449.jpg


Nothing too special really. Installing the 5.25" devices was a pain though as this is case has no shelves for the drives to sit on, so you have to hold the drive yourself whilst you try to install the screws at the same time. This case is really showing its age I think. :/

So until I get the holes in the motherboard tray cut out, that's pretty much all I can do at the moment. It's going to be a few weeks until I can get those holes cut, but hopefully it will be worth the wait!

Here's how my bedroom floor looks at the moment.

DSCF8463.jpg


(Yes I have two re-builds going on at the same time!)

And I have various bits of computer sitting on my other desk. ;)

DSCF8481.jpg


I know the power supply isn't the greatest but it seems to do the job OK. :/ It does have an LED fan in it though! ;)

The hard drive I have is dying, so I thought I'd replace it at some point. I've always wanted to try out a Hybrid SSD, so I thought I'd give a 500GB Momentus XT a try, would that be OK? http://www.novatech.co.uk/products/...state/128gbandabove/st95005620as.html#reviews or how about just an ordinary 500GB 7200 RPM disk? http://www.novatech.co.uk/products/components/harddrives-internal/sata500gbto1tb/st500dm002.html as the board only has SATA 3GB/s I don't know if the Momentus would be worth buying as I don't think I'd get the full performance. Thoughts?
 
Last edited:
The holes in the motherboard tray are going to be cut tonight! :) Will post pics once done!
 
Got the cut-outs for the cables made tonight. :)

DSCF8482.jpg


This is how I intend to wire it all up. :)

DSCF8483.jpg


Looks good I think! Going to get building it again now I think! :)
 
Looks good. Moving right along. That case has a lot of room behind the tray doesn't it. How handy.

mmm, I'm thinkin for something close to XT $ you could go with hdd + Sata II SSD. The price of II can be pretty low and the controllers for II are stable so many to pick from w/o that being much of a concern. I personally would go HDD unless SSD was all that was needed.
 
It's pretty much all been re-built now! :) Been building it all night. Motherboard, CPU, RAM and GPU has been put back onto the tray, power supply all mounted, most of the cables routed and most of the fans connected. Just a couple of hours work needs doing tomorrow and then we're done! :good: There is a lot of room behind the board tray, yes - nice case now I've modded it a bit. ;)

I will take a look into SATA II SSDs - the OCZ Vertex II was a good drive IIRC, may just get a large HDD though. Not sure yet.
 
Id look at buying SATA III drives, their still compatible with II but when you do upgrade you can just carry the drive over. Also your probably aware, but routing cables through the tray now means you wont be using the tray the way you were via pulling it out of the case.
 
Id look at buying SATA III drives, their still compatible with II but when you do upgrade you can just carry the drive over. Also your probably aware, but routing cables through the tray now means you wont be using the tray the way you were via pulling it out of the case.

I'm not likely ever going to really upgrade this system in terms of motherboard and processor, I want to keep it as it is - especially now I've cut the holes especially for this motherboard layout.

Yes I realise I can't pull the tray out now but if I ever need to it won't take a few seconds just to remove all the cables.
 
Speaking of cable management, check out this video. This guy does a mod on the CM 430 Elite (same case as me) using a Baking Tray :D.
 
Here's how it looked before I went to bed last night:

DSCF8485.jpg


Motherboard, CPU, RAM and GPU all reinstalled onto the motherboard tray - looks like I got the cut-outs made in the right places! Motherboard was a pest to install (those stupid I/O shields!) but I got there in the end.

DSCF8488.jpg


DSCF8489.jpg


Had to remove one of the fans because it's cable was too short, but basically you can see that I started wiring everything up and getting it all together.
I need to finish off the build today and then it's done! Just got a few more cables to plug in and then get the cable management how I want it.

I plugged the power switch and the speaker into the motherboard just to test if it still worked, and it did! No error beep codes either so I assume this is working pretty much 100%!
 
Speaking of cable management, check out this video. This guy does a mod on the CM 430 Elite (same case as me) using a Baking Tray :D.

I know it's completely irrelevant but that guy has an i5 760 and an ASUS P7P55D-E - I used to have that CPU+board combination! :) Happy days! :)
 
I've finished it all now! It looks a LOT like a HAF 912 inside now I think - only difference being the PSU is mounted at the top of the chassis and not at the bottom.

I got both side panels with ease - this is by the far the best case for cable management that I have now. :D There's so much room behind the motherboard tray everything just fits in really easily! :)

Will upload some pics! :)
 
OK so it's all done, without further a do here are the photos! :D

tumblr_m84ki9DR0d1rr8jsmo2_1280.jpg


tumblr_m84ki9DR0d1rr8jsmo7_1280.jpg


tumblr_m84ki9DR0d1rr8jsmo3_1280.jpg


tumblr_m84ki9DR0d1rr8jsmo4_1280.jpg


tumblr_m84ki9DR0d1rr8jsmo5_1280.jpg


tumblr_m84ki9DR0d1rr8jsmo6_1280.jpg


tumblr_m84ki9DR0d1rr8jsmo1_1280.jpg


tumblr_m84ki9DR0d1rr8jsmo8_1280.jpg


So there she is, all neat and tidy now! :)

Getting the side panel on was pretty easy actually, there is loads of room between the motherboard tray and the side panel now! :) Sadly though as there is nowhere to really anchor the cables to; so that meant I had to kind of break out the gaffer tape a bit. :D

DSCF8495.jpg


Another downside is I can't use the two fans on the rear of the chassis... yet. This is because when I put that little circuit board which would power the two fans up by my power supply, the whole shorted - so that's a bit annoying to say the least. I'll have to get some 3-pin fan connector to molex adapters from eBay I think. Too bad the board doesn't have headers for fans but hey what do you expect from a low-end board? ;)

So the PC does actually still work *gasp* and I made sure I had plugged the USB ports and audio stuff into the correct place on the board. I plugged the USB ports into the correct place, but for some reason the audio doesn't work - oh well! :D

So the build itself is complete, now I just need to get some money and start replacing stuff: Need a new hard drive or SSD, new power supply and some fan adapters. :)

Other than that it's working sweet!

By the way if you want to see some 'before' pics, here are a few.

DSCF3821.jpg


^ My first attempt at cable management in this rig.

DSCF3802.jpg


^ The rig when I first got it back in May. :eek: Yup that's dust! ;)
 
Last edited:
Big differnce from the birds nest it used to be:P:).
Looks nice and clean and tidy now. Looks like a sturdy case too, that will last a long time. Nice placements on the cutouts and I think they will work great for any other config. the case might ever have.:good:
 
The only thing I would change is spray paint the inside black. :D

Looks awesome though.
 
Back
Top