Mankz_91
New Member
The couple of replies are simple cut and paste, new material will be added when its done!
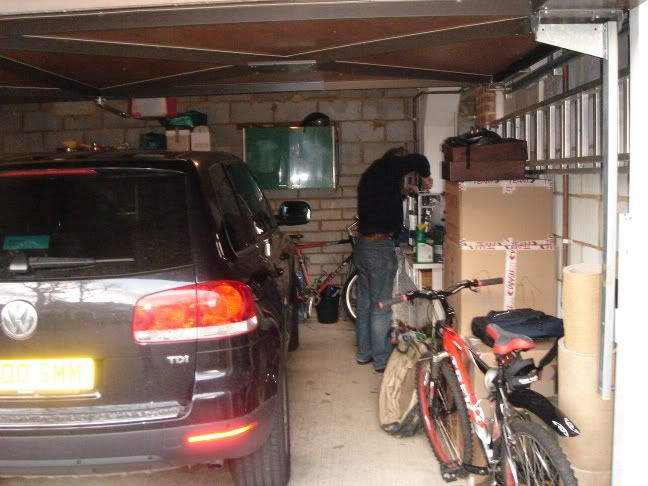
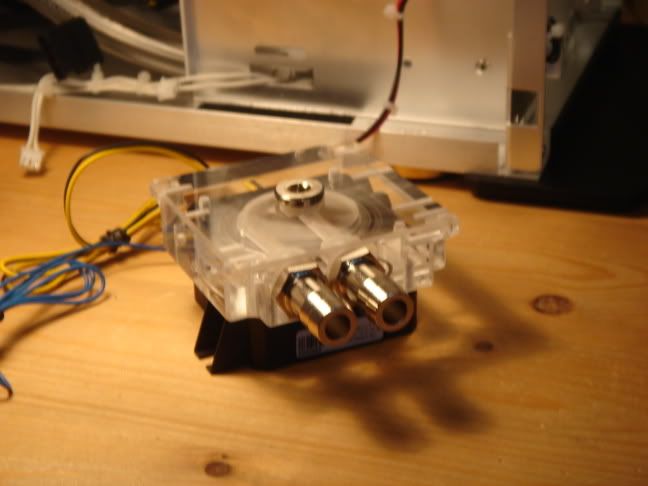
Havn't been away from these forums i thought you may like to have a look at my Project, based on a Coolermaster Wavemaster, and all water cooling stuff is from ---Here---
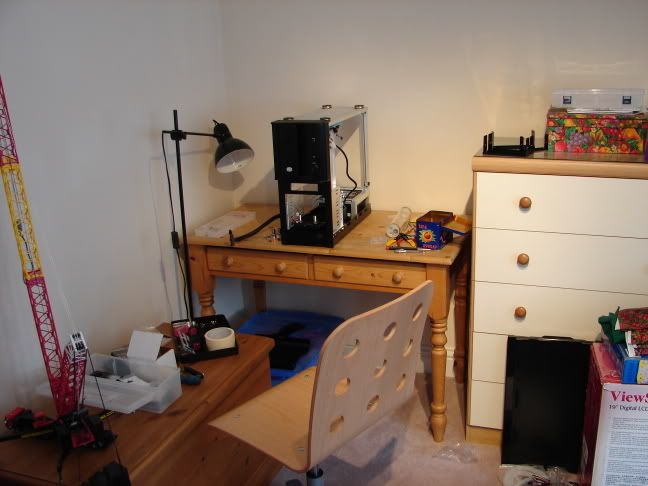
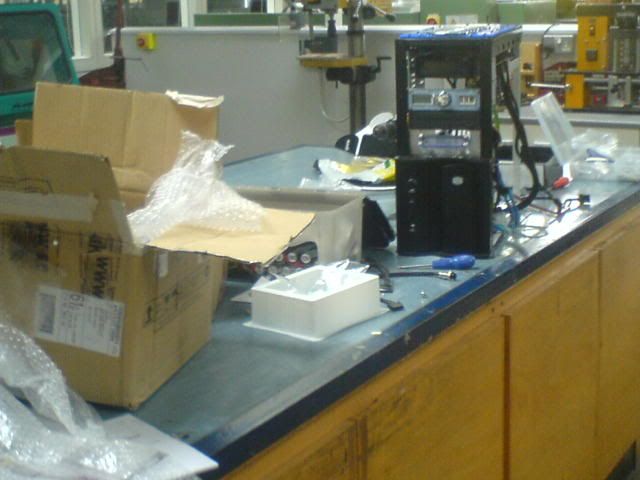
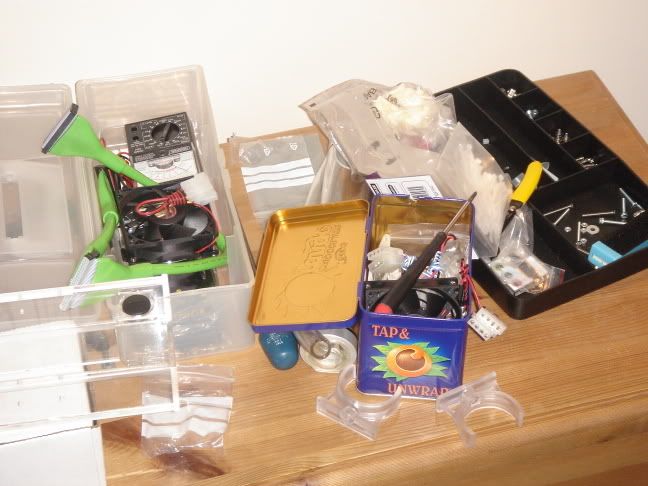
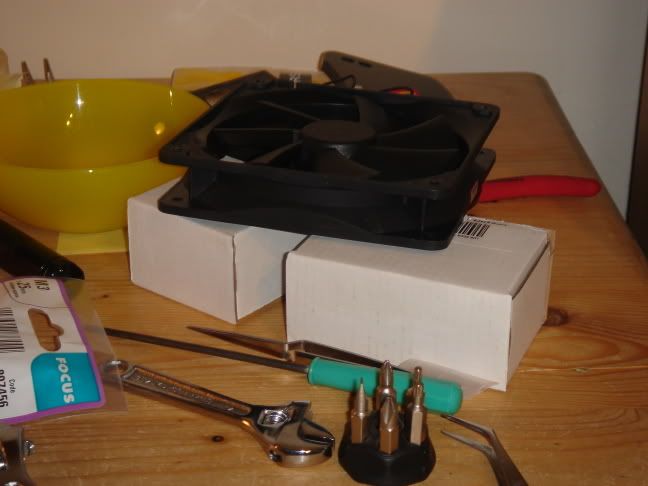
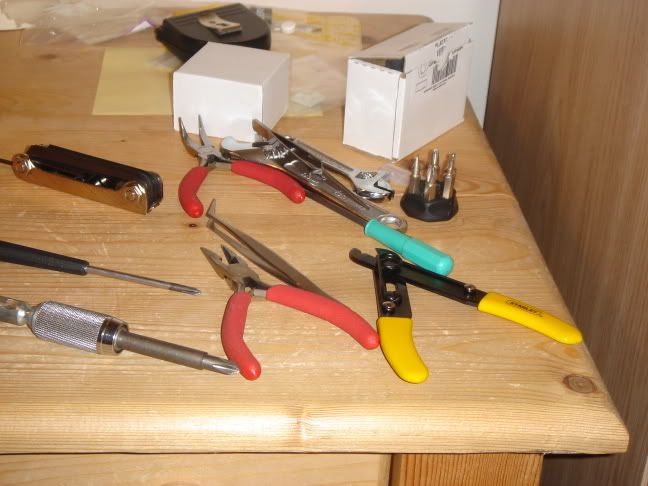
My work area in Spare Bedroom- Notice c**p everywere.
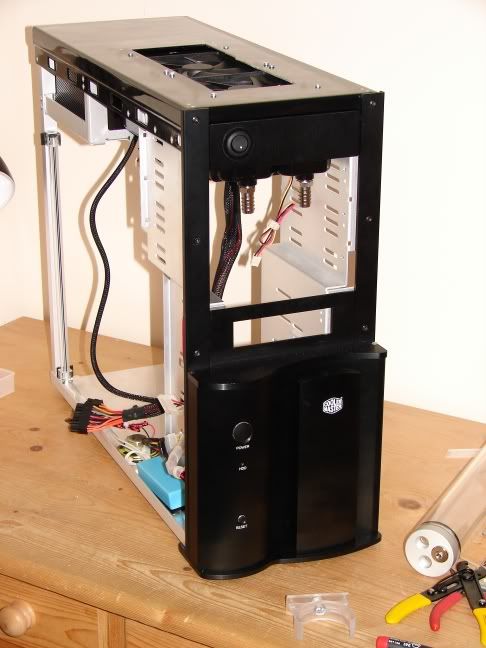
My Wavemaster in all its Naked glory- (dont take the piss for holes and cut on top- using a hole saw and a laser Arcylic cutter to make a top for it-
Here we go....
Day 1
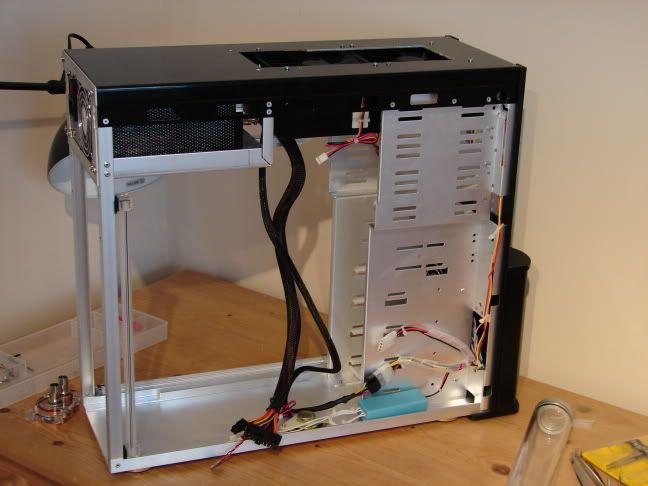
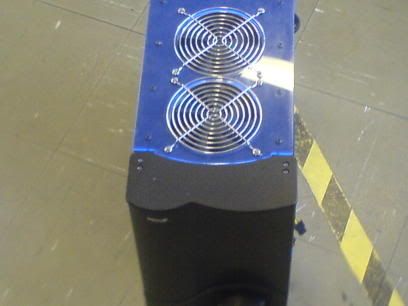
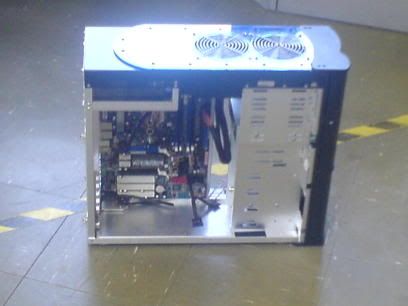
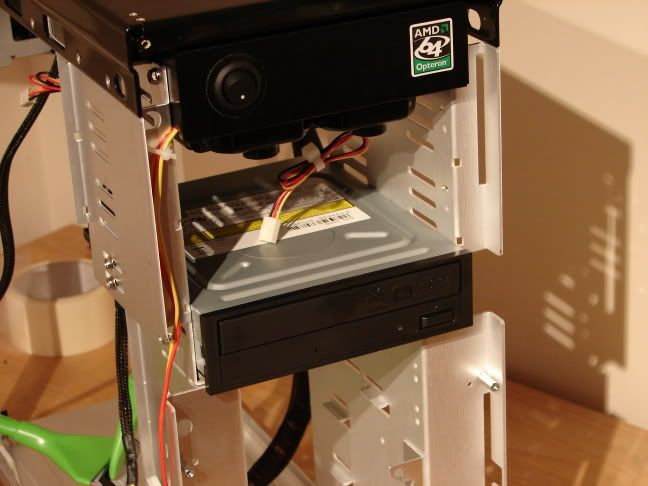
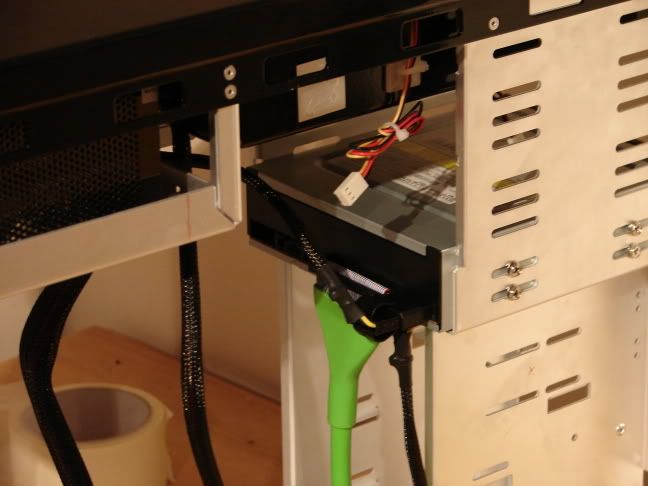
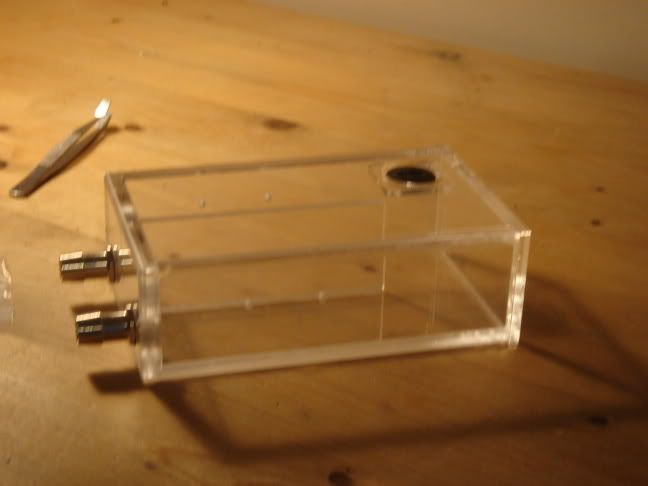
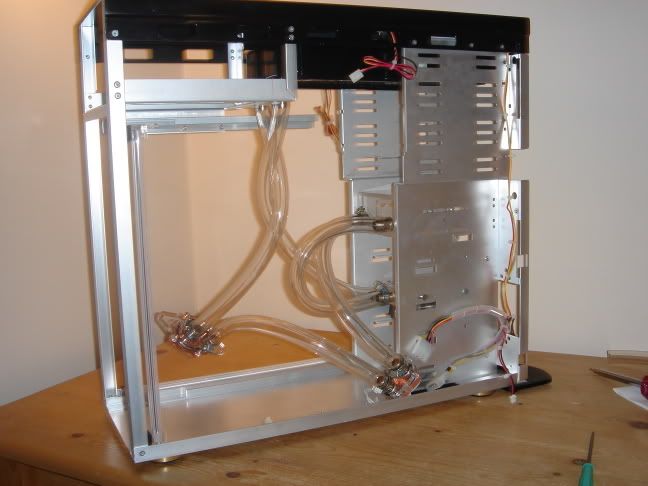
Side on goodness
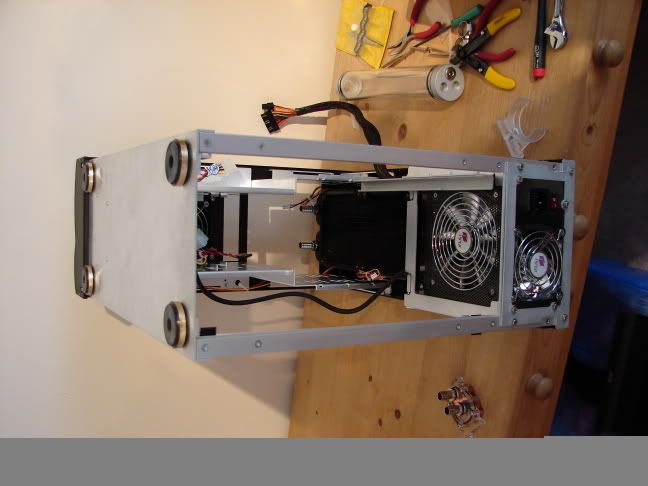
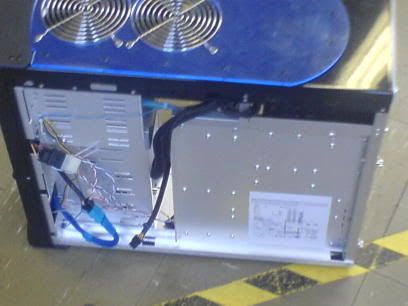
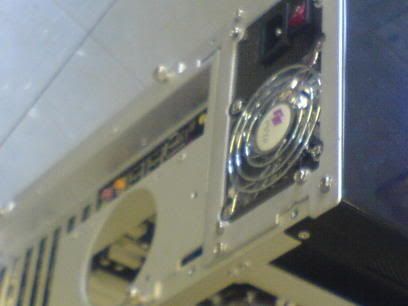
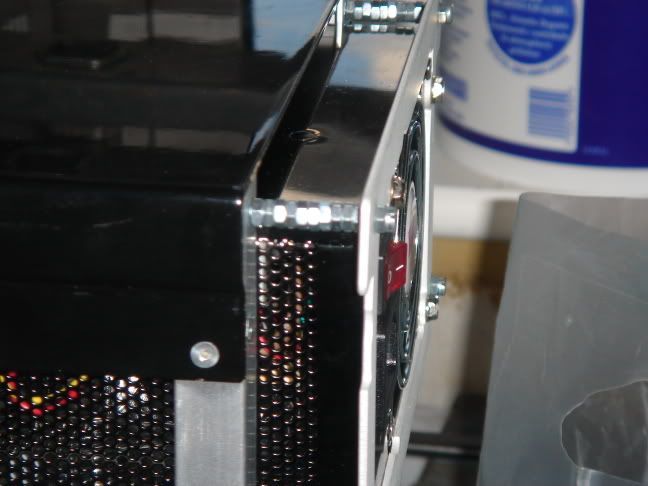
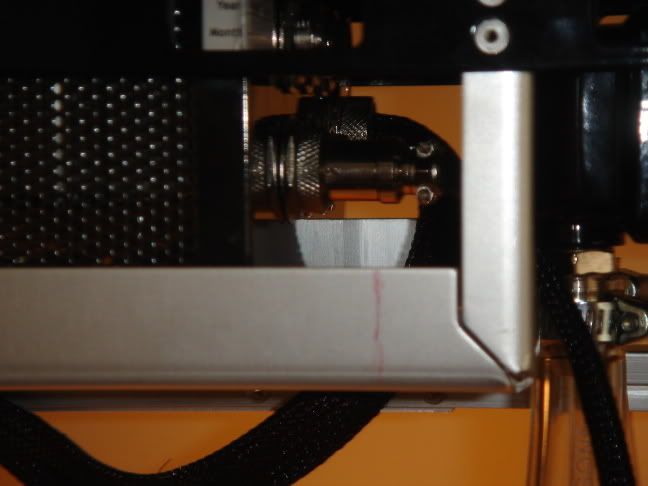
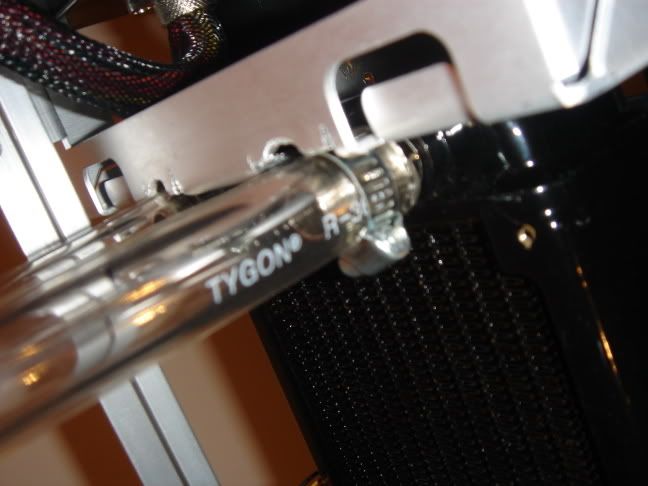
NexXxos Extreme dual Radiator and Hiper Type-R 580W Modual PSU-
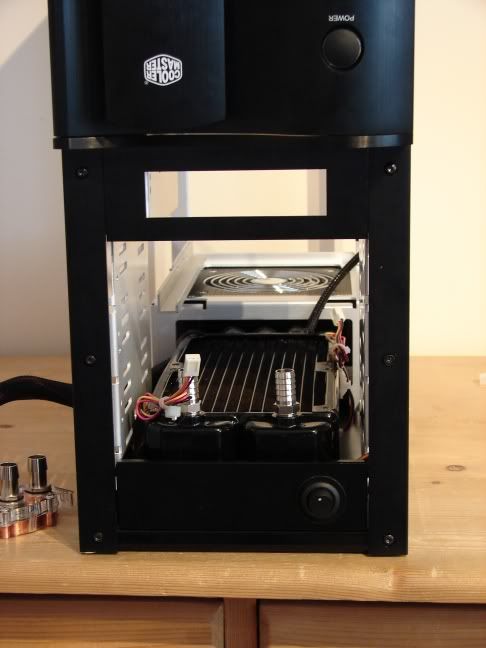
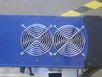
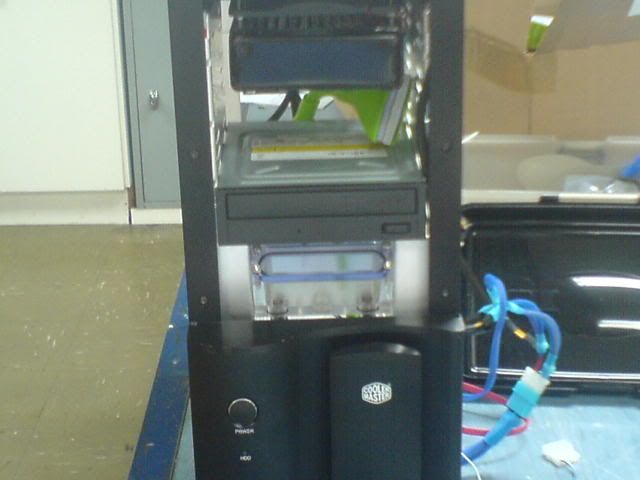
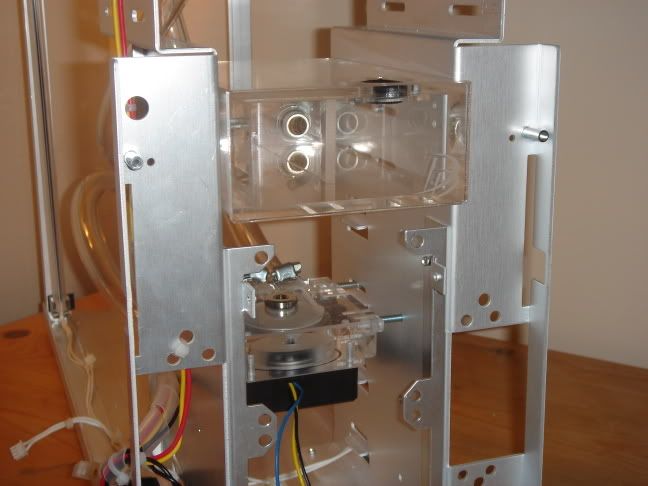
Frount view (cathode switch and Rad)


") I am fan of modding myself but your mods are way more advanced. Great job!!
I am fan of modding myself but your mods are way more advanced. Great job!!