tuxify
New Member
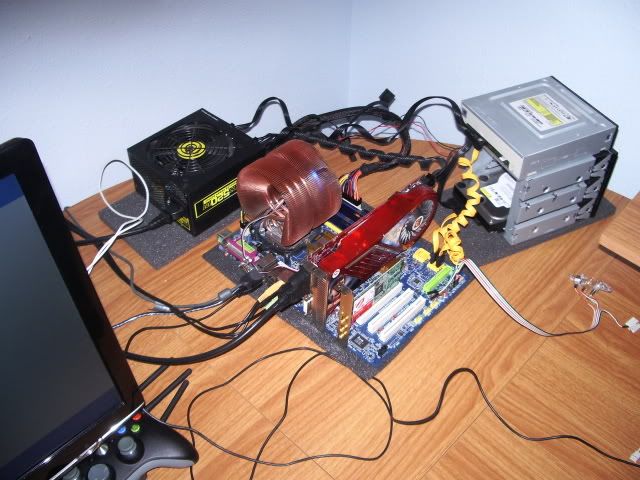
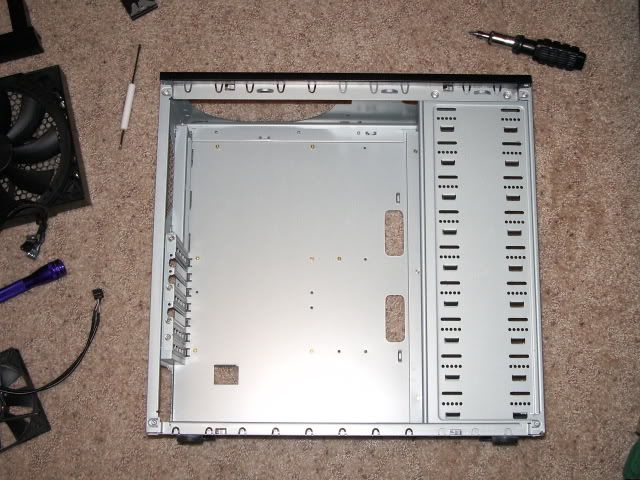
After months of looking through the window of my Antec 900 in disgust due to my horrible cable management skills, I've decided to take the Dremel I got for Christmas to the case and see what I can do. And what mod is complete without a professional worklog on a professional computer forum such as this one?
Basically, here's what I want to do so far:
I am constantly looking for new things to do to the case to make it look good, as well as practical. I recently saw a mod that took out the plexi glass on the window with the big hole in it for a fan, and replaced it with just a solid piece of plexi, which may be something I'll consider doing as well.
I am kind of going off of what Kornowski has told me, and these three other A900 mods: http://www.overclock.net/case-mods-...5433-guide-antec-900-cable-mod-pictorial.html, http://www.xtremesystems.org/forums/showthread.php?t=126395, http://forum.xcpus.com/mods/9379-antec-900-mod-log.html.
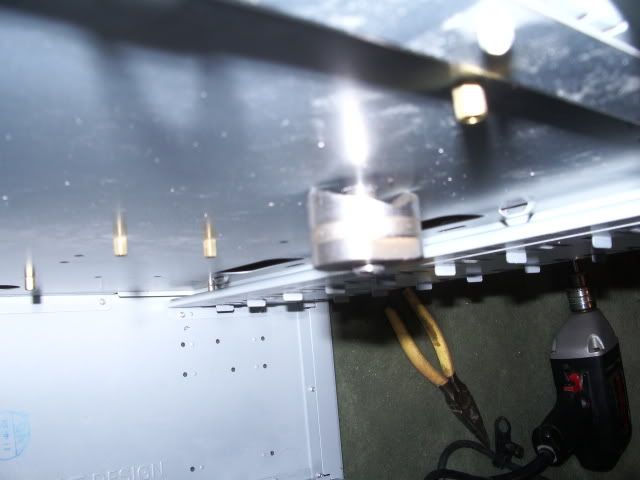
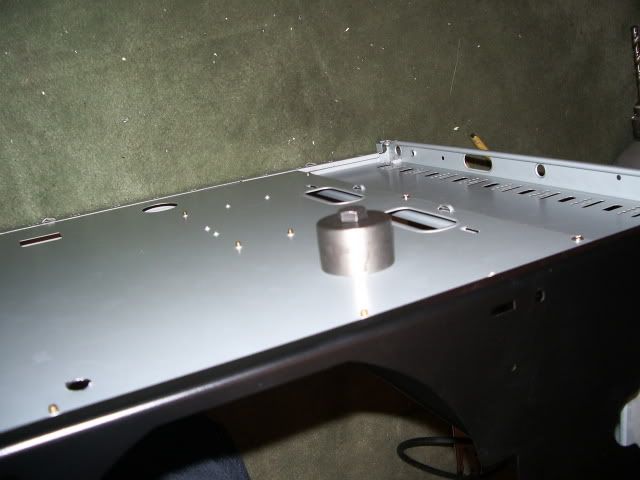
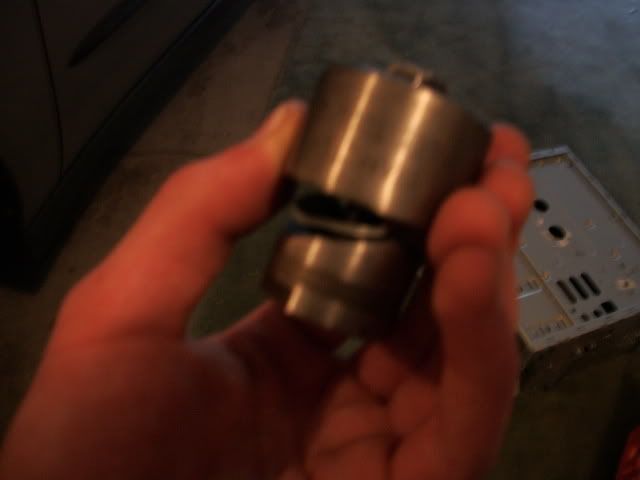
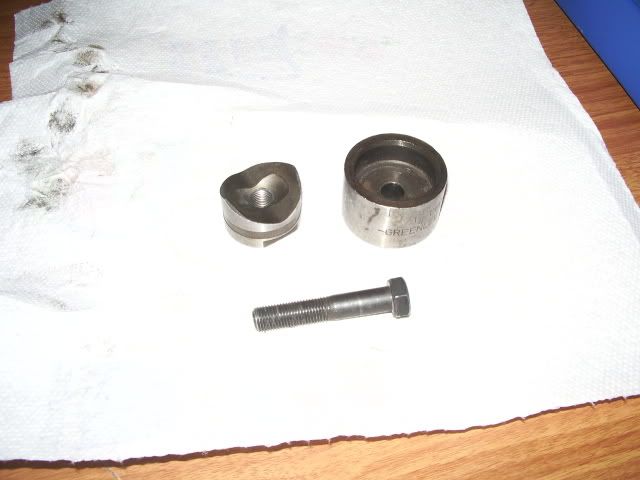
As I said above, I'll be using my dremel for cutting the bottom hole for my PSU fan, as it won't be a perfect circle due to the fact that the case's feet would get in the way. I'll also be picking up a step drill bit (as used in the OC.net A900 mod) to cut the motherboard tray holes.
Any suggestions on new ideas for my mod, as well as ideas to change the way I'm planning on doing something would be greatly appreciated.
Once I get around to planning out my cuts and whatnot I'll start posting pictures.
I do realize this is a pretty small mod that everyone and their mothers has done, but it's my first attempt at modding a case (first time ever modding anything, really) and I thought a worklog would be a good way to get suggestions and feedback throughout my adventure.
Basically, here's what I want to do so far:
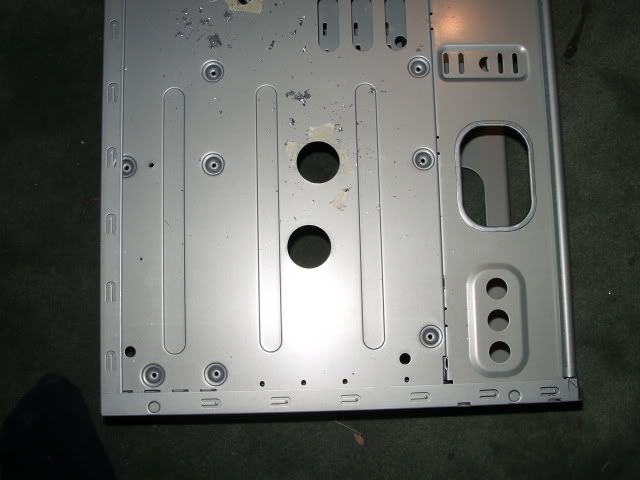
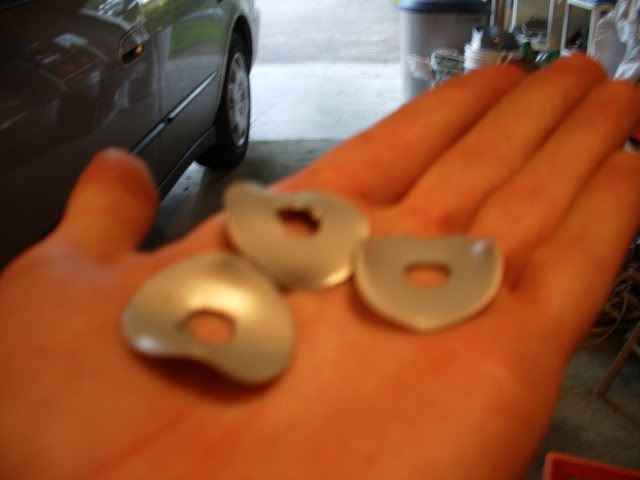
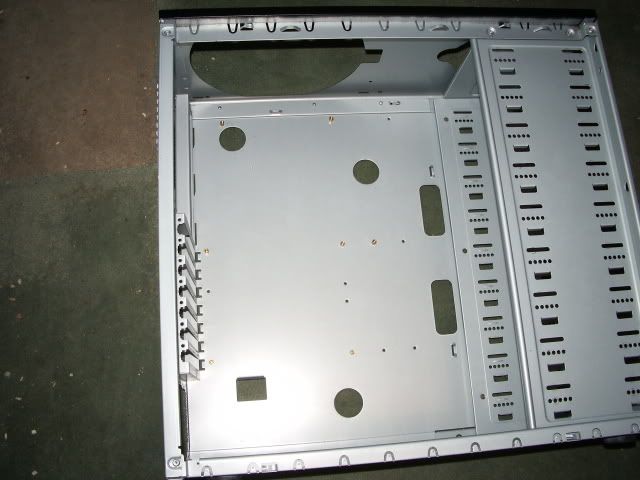
- Cut holes in the motherboard tray for cable managment
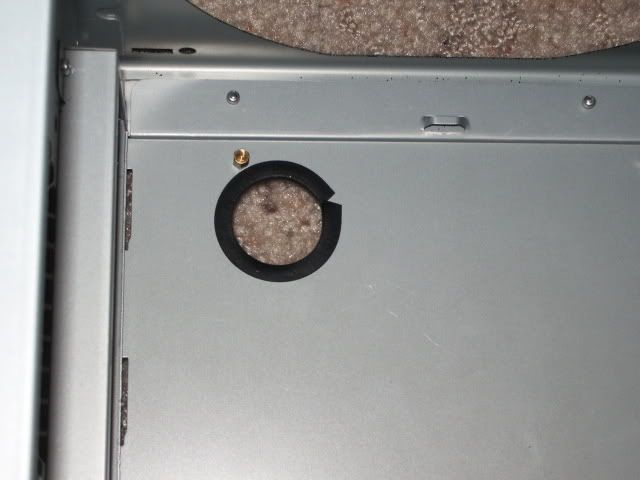
- Flip my PSU upside down (right side up) and cut a hole in the bottom of the case for the fan
- Paint the inside of my case flat black
I am constantly looking for new things to do to the case to make it look good, as well as practical. I recently saw a mod that took out the plexi glass on the window with the big hole in it for a fan, and replaced it with just a solid piece of plexi, which may be something I'll consider doing as well.
I am kind of going off of what Kornowski has told me, and these three other A900 mods: http://www.overclock.net/case-mods-...5433-guide-antec-900-cable-mod-pictorial.html, http://www.xtremesystems.org/forums/showthread.php?t=126395, http://forum.xcpus.com/mods/9379-antec-900-mod-log.html.
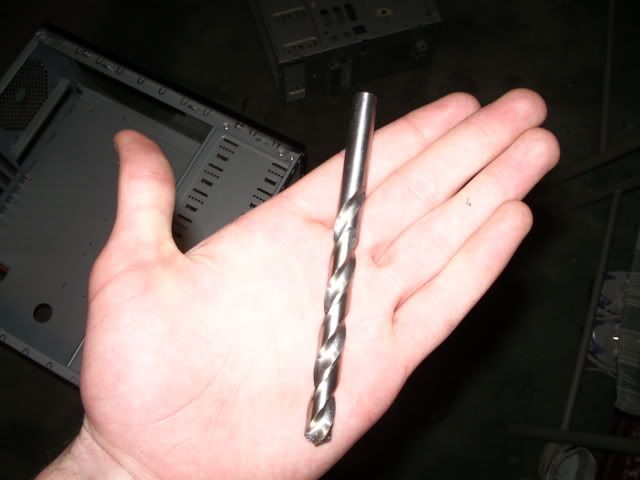
As I said above, I'll be using my dremel for cutting the bottom hole for my PSU fan, as it won't be a perfect circle due to the fact that the case's feet would get in the way. I'll also be picking up a step drill bit (as used in the OC.net A900 mod) to cut the motherboard tray holes.
Any suggestions on new ideas for my mod, as well as ideas to change the way I'm planning on doing something would be greatly appreciated.
Once I get around to planning out my cuts and whatnot I'll start posting pictures.
I do realize this is a pretty small mod that everyone and their mothers has done, but it's my first attempt at modding a case (first time ever modding anything, really) and I thought a worklog would be a good way to get suggestions and feedback throughout my adventure.
") . I want to order them online but I feel i'll order the wrong sized ones, I like to visualize before I buy. Oh since you're painting it too, I'd use a sandblaster if you can get a hold of one..
. I want to order them online but I feel i'll order the wrong sized ones, I like to visualize before I buy. Oh since you're painting it too, I'd use a sandblaster if you can get a hold of one..

 .
.