You are using an out of date browser. It may not display this or other websites correctly.
You should upgrade or use an alternative browser.
You should upgrade or use an alternative browser.
A new way of taking pictures...
- Thread starter The_Other_One
- Start date


The_Other_One
VIP Member
Am I the only one who LIKES the first of both those pictures?
Gimme some time
 There are some settings to play with, and I know my examples aren't the best... I mean, check this out;
I'm sure with better software(or better tweaking on my end
) the pics could be quite realistic...The_Other_One
VIP Member
You know what...Is there a high-def. scan of that? I'd love to use that for wallpaper.
http://upload.wikimedia.org/wikipedia/commons/2/22/New_York_City_at_night_HDR.jpg
Haha, I might set it as my background too.
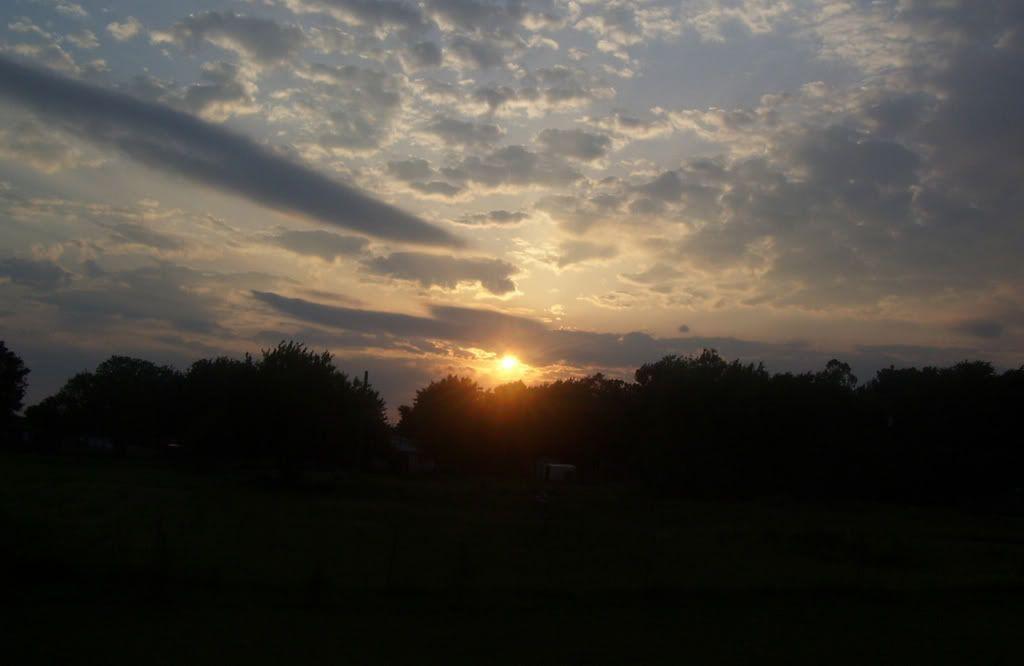
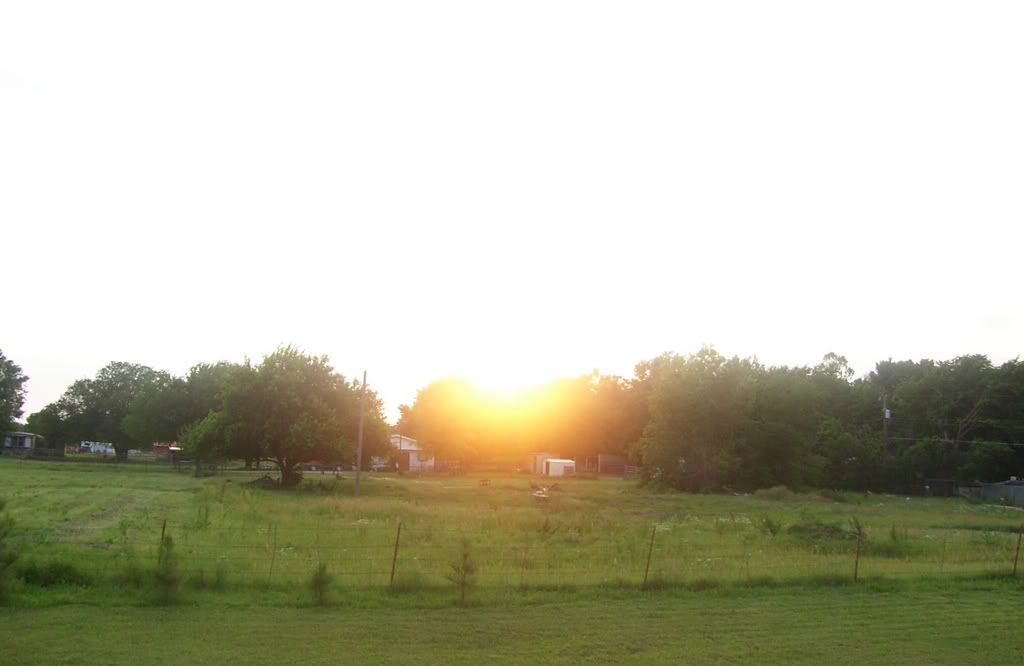
You taking two (or more) pictures.
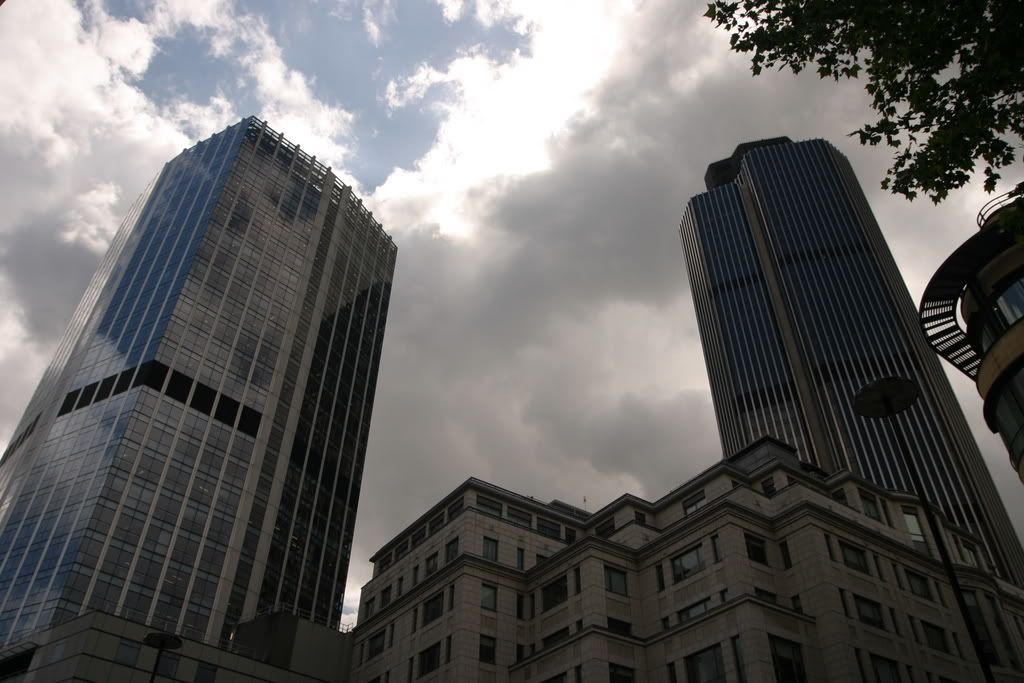
For example sun sets behind the buildings.
To take the first picture you take mesurements from the bright part of the scene (sky), which makes the buildings really dark and without any details.
The second picture you taking with the measurements from the dark part of the scene (which makes buildings looks ok but the sky is over exposed).
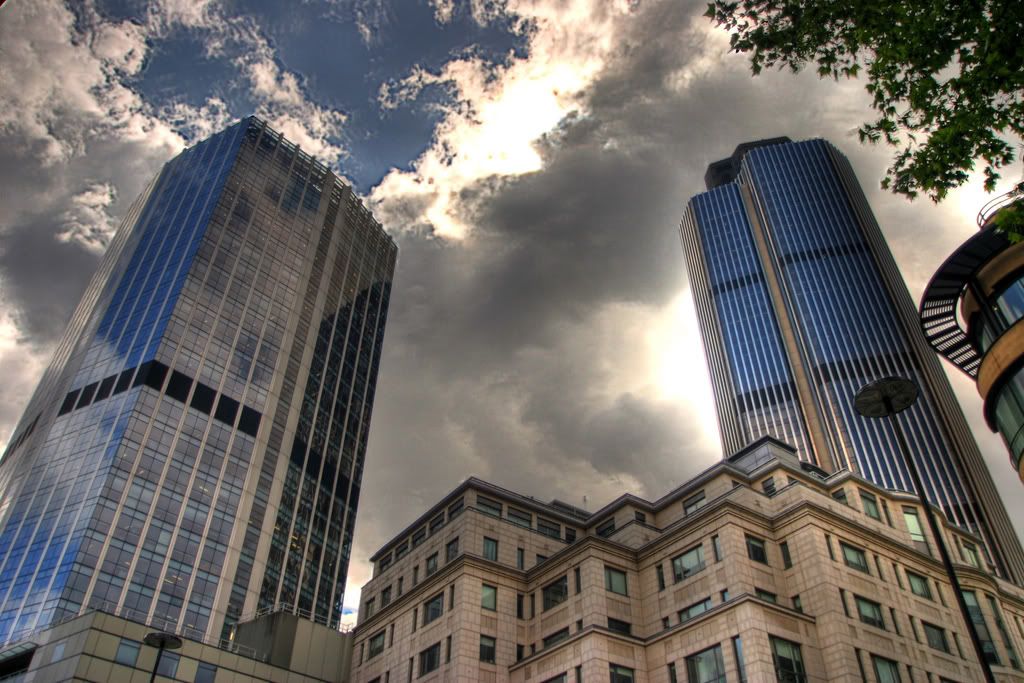
Then you combine these two pictures, so both, dark and bright parts of the scene are visible (no under or over exposure).
Like in the night city landscape here.
You are able to see roof tops, window lights, some clouds...
With just one picture (with measurements taken from the sky) you would be able to see clouds, but building lights will be over exposed (really bright and merging into one blurry ligth in some part of the picture).
In the end you get the effect which is close to what human eye can see.
At least I think that this is all about")
For example sun sets behind the buildings.
To take the first picture you take mesurements from the bright part of the scene (sky), which makes the buildings really dark and without any details.
The second picture you taking with the measurements from the dark part of the scene (which makes buildings looks ok but the sky is over exposed).
Then you combine these two pictures, so both, dark and bright parts of the scene are visible (no under or over exposure).
Like in the night city landscape here.
You are able to see roof tops, window lights, some clouds...
With just one picture (with measurements taken from the sky) you would be able to see clouds, but building lights will be over exposed (really bright and merging into one blurry ligth in some part of the picture).
In the end you get the effect which is close to what human eye can see.
At least I think that this is all about
Simply take some pictures of the same scene with different exposure settings and combine them in that software The_Other_One posted link to.
I'm saying "simply" without actually knowing it really is "simply" as I never tried that
I'm not even sure you do that the way I said
I'm saying "simply" without actually knowing it really is "simply" as I never tried that
I'm not even sure you do that the way I said
Last edited:
kobaj
VIP Member
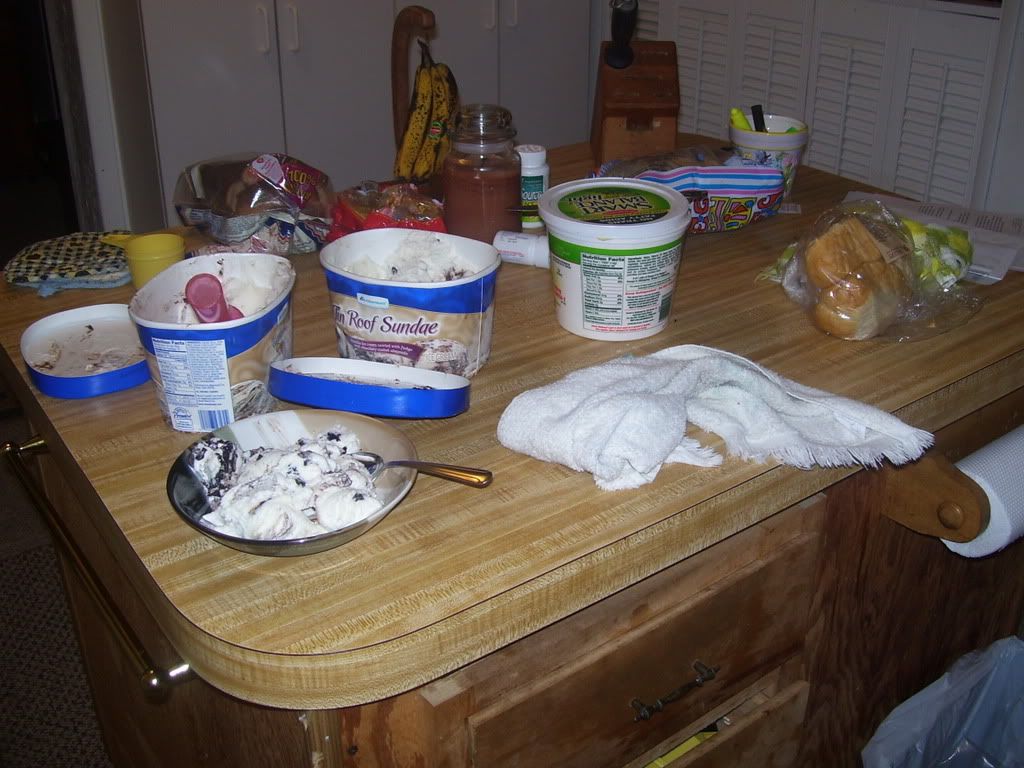
Psh, so I thought I would try it myself except I used photoshop and something like 16 pictures with this tutorial. I tried a scene with lots of contrasting colors and darks and lights. (And It was hungry and thats what was out.  )
)
Original,
HDR,
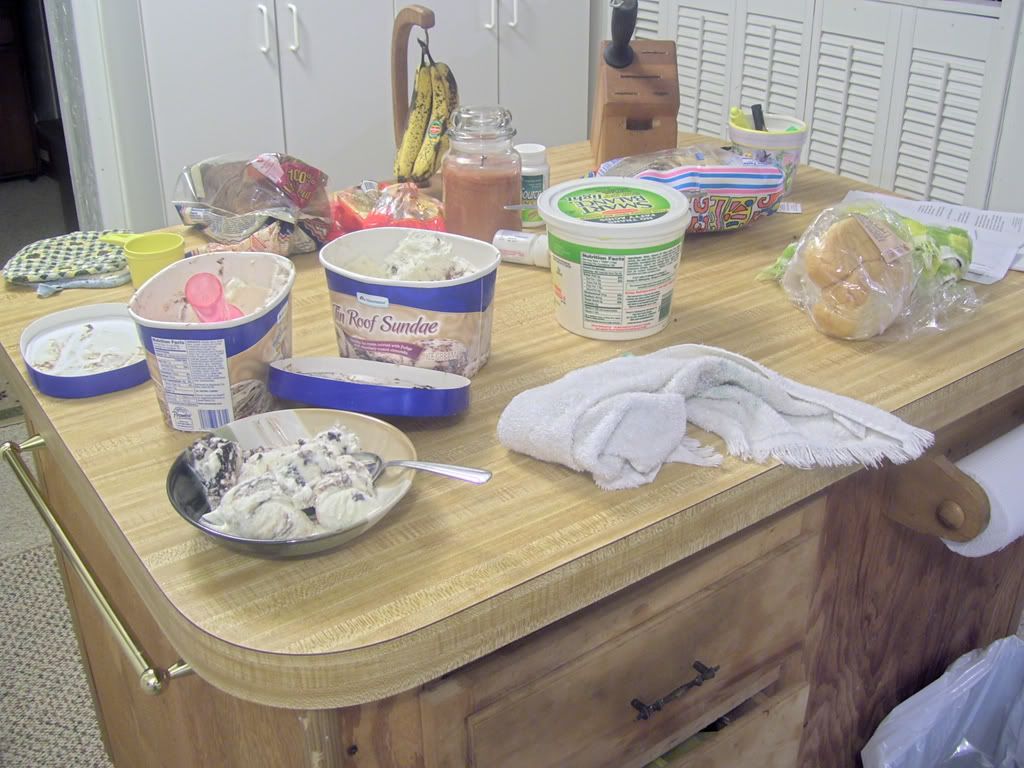
I like the color still in my original, but I can see what that HDR did with the details in the ice cream (in the tin roof tub). But I dont think Ill be doing this again, Setting up the tripod and spending an hour combining just aint worth it, maybe for outside shots...What do you think?
I have a huge 4megapixle 32bit .pbm, and all the original .jpgs, and pretty much any other file if anyone wants them Ill find a way to upload...
(And It was hungry and thats what was out. ) Original,
HDR,
I like the color still in my original, but I can see what that HDR did with the details in the ice cream (in the tin roof tub). But I dont think Ill be doing this again, Setting up the tripod and spending an hour combining just aint worth it, maybe for outside shots...What do you think?
I have a huge 4megapixle 32bit .pbm, and all the original .jpgs, and pretty much any other file if anyone wants them Ill find a way to upload...
Last edited:
The_Other_One
VIP Member
OK, imagine you're taking a picture inside. You have someone sitting on a couch and a window behind them(in view of course...) It's a nice sunny day outside. A fast exposure would capture only the window, leaving the rest of the inside too dark. A longer exposure would cause the window to be white, but the rest of the "correct". With the correct software, you combine these two picture and make one properly exposed picture. More how the human eye would see it...
kobaj
VIP Member
I am such a retard, I uploaded the wrong image. Both I had up there were post production HDR images. I have uploaded the REAL original.
For all those wondering no, I did not "just turn the lights on". There is a windows behind where I was shooting this image, and the corner of the room has no lamps. Therefor one gets the dark, light contrast.
And If you still dont beleive me, Ill take a freaking picture OF it in the dark... :/
For all those wondering no, I did not "just turn the lights on". There is a windows behind where I was shooting this image, and the corner of the room has no lamps. Therefor one gets the dark, light contrast.
And If you still dont beleive me, Ill take a freaking picture OF it in the dark... :/

it honestly looks better when you actuall cut the background and foreground and manually combine the frames, which is an old trick
It seems like HDR is just a shortcut
the HDR is cool for shots like the buildings, tho, and that cityscape shot, where it would take 5-10 exposures to capture every field, which would be nearly impossible to combine manually
but it seems like there must be a trick to using the HDR, because a lot of your attempts end up looking a LOT more washed out than the original