Project :: Dark_Water

Mankz_91

New Member
Project :: Dark Water

I knew that I wanted a watercooled Chieftec case ever since I first became involved in building and modding computers (2 or so years ago) but I could never convince my parents to get me one. Then, last summer (2005) I got a job at my local golf course and started making proper money, I decided to under go the challenge.

Over the past year or so, I’ve found it increasingly harder to order Chieftec cases from inside the UK, then one night last week, while searching on Froogle, I found a fairly cheap stockist, Specialtech. I quickly annoyed my mum until she said yes to order it, and it arrived this morning-

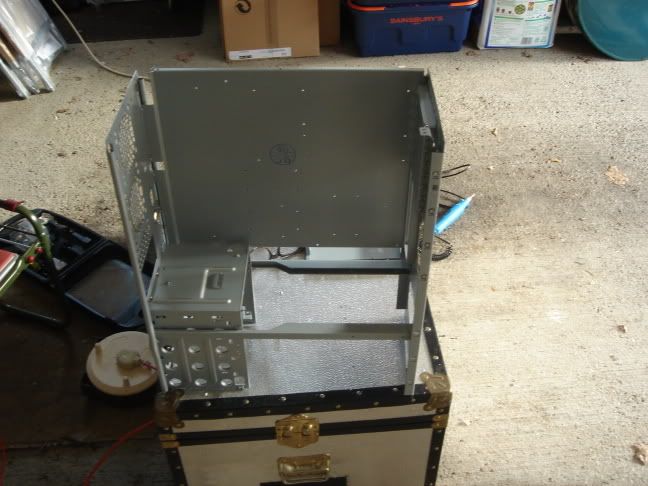
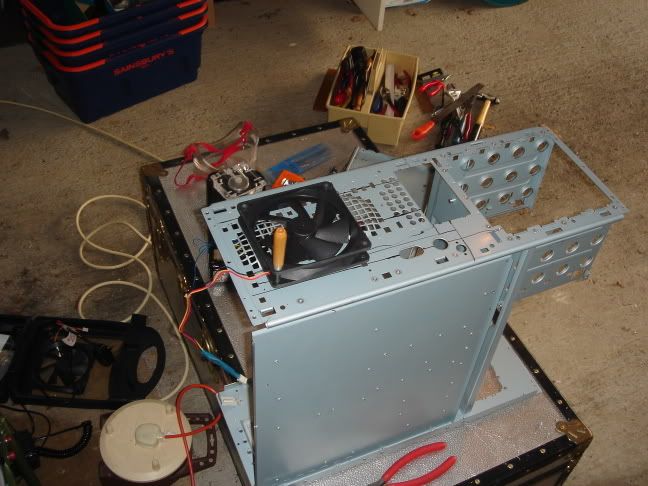
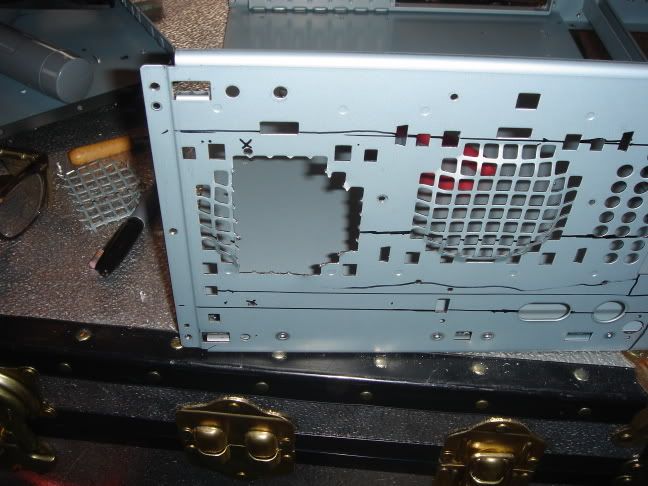
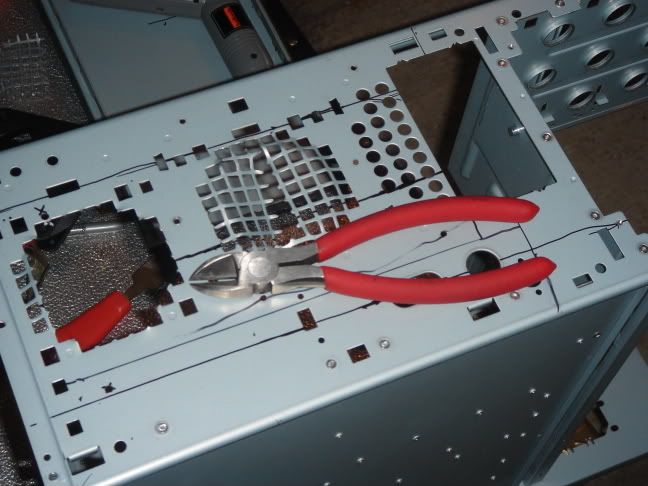
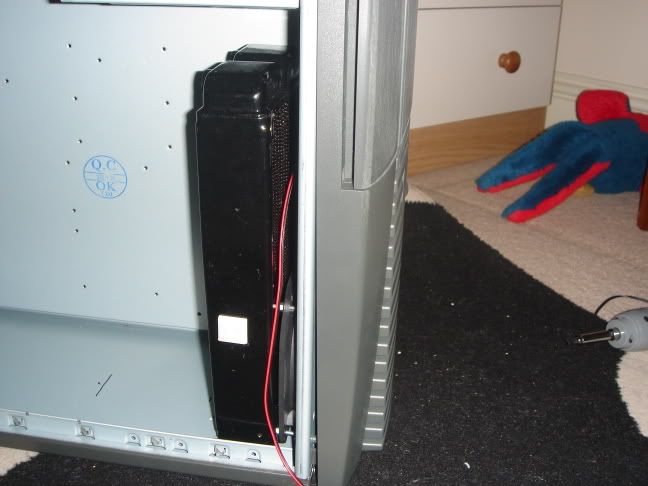
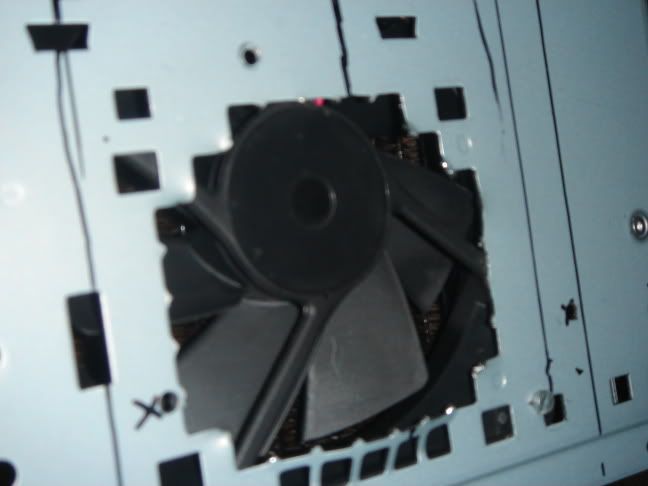
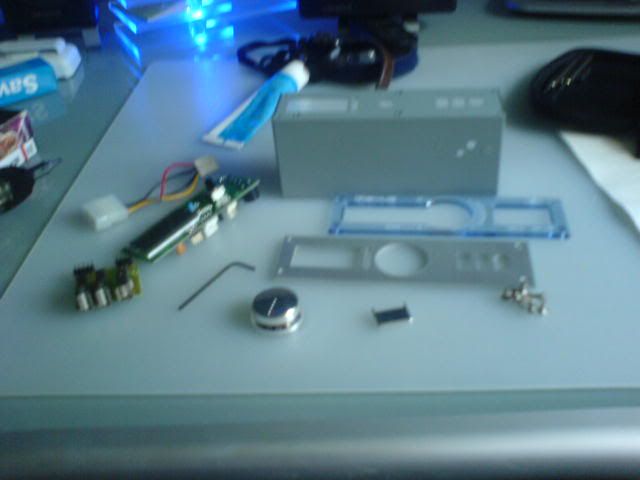
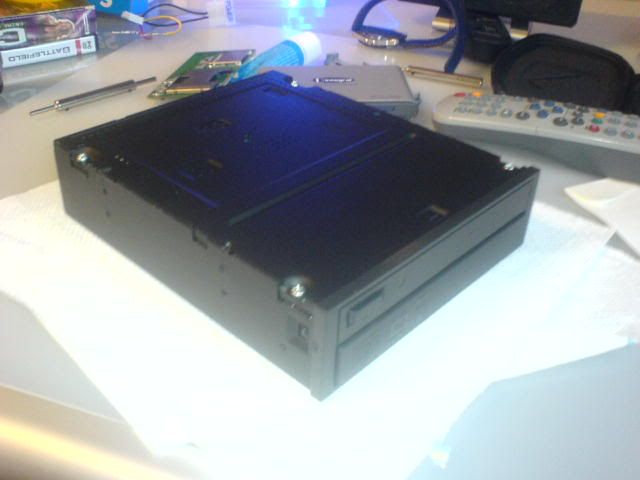
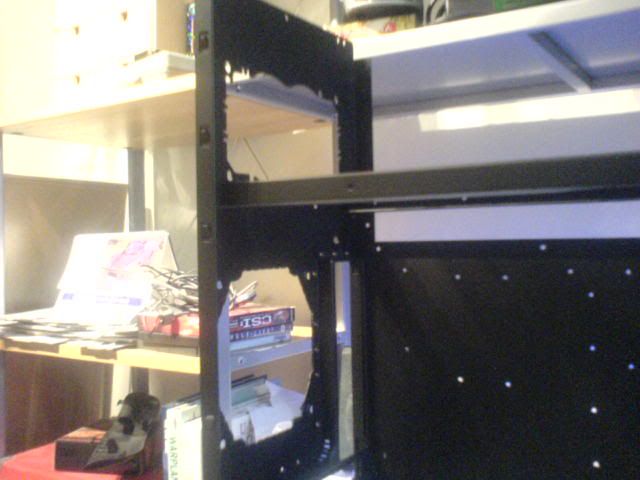
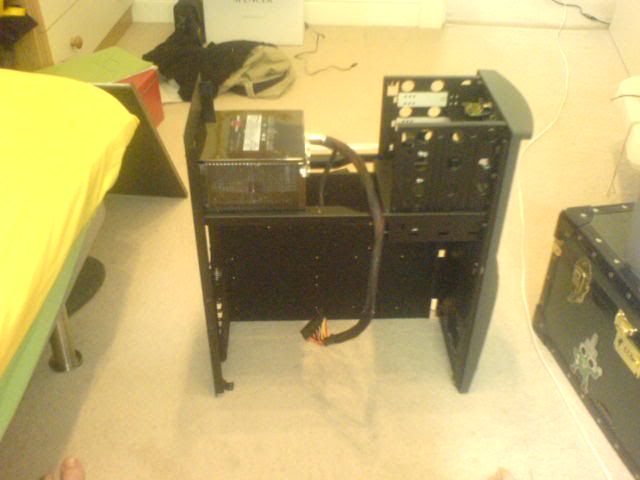
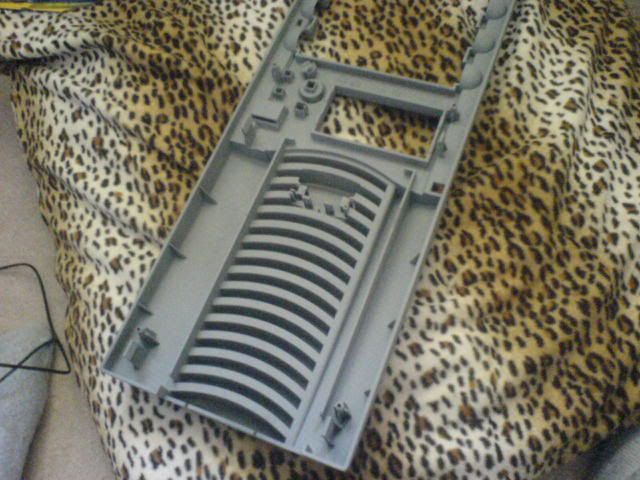
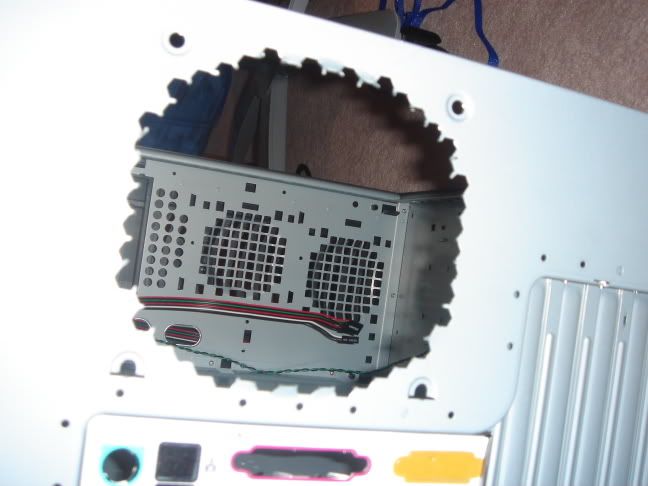
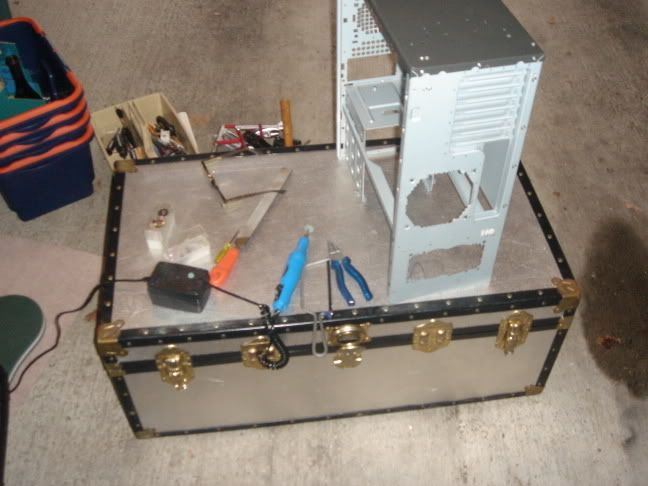
The Main Hardware / Water-cooling Parts are all from my Wavemaster Project (with 2 Pumps and an Extra 120mm radiator, but I’ve put that in hold for now. The First few stages are much like Leeum’s Case, removing various parts and fan covers, but eventually, I hope it will look very nice- The main colour schemes are black, very dark grey and bark Blue, and there will be lots of acrylic (Custom Laser Cut with a CAD Machine).

Now…back to the Case..

a.jpg


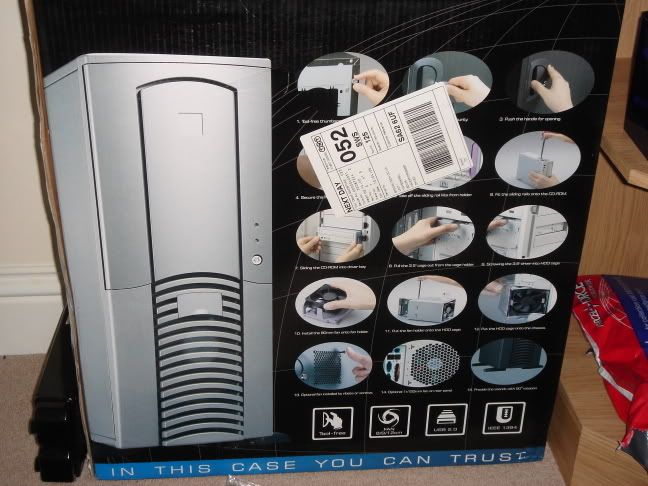
Nice Box, and the instructions are on the side.

b.jpg


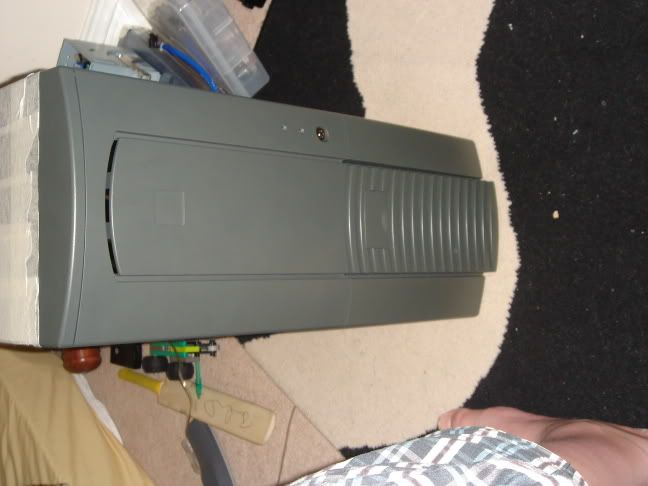
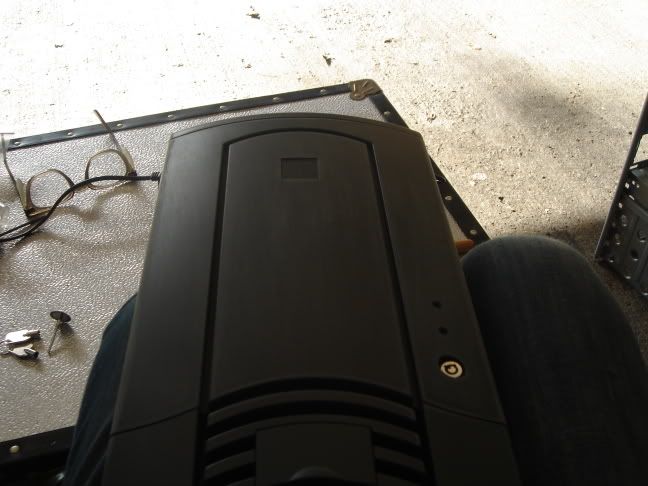
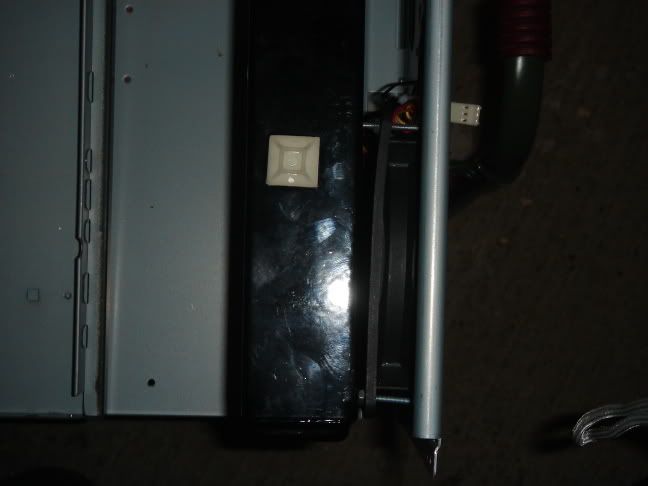
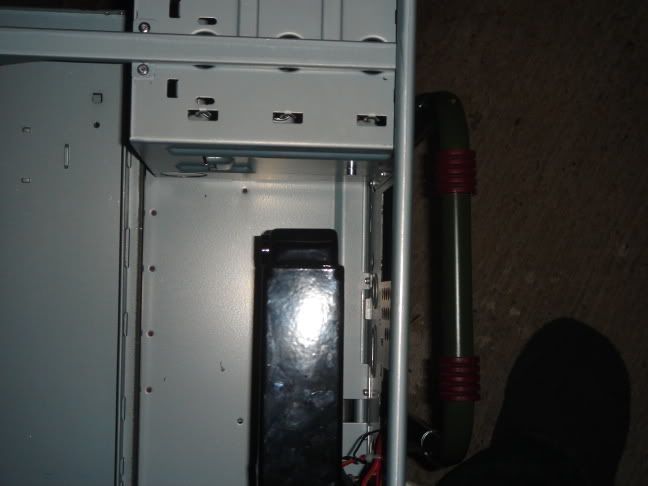
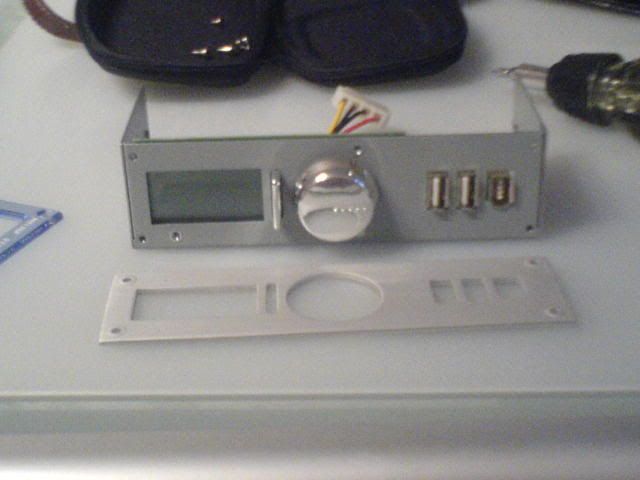
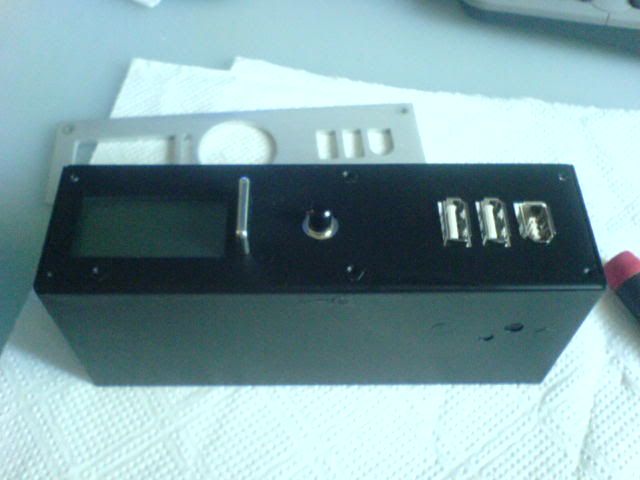
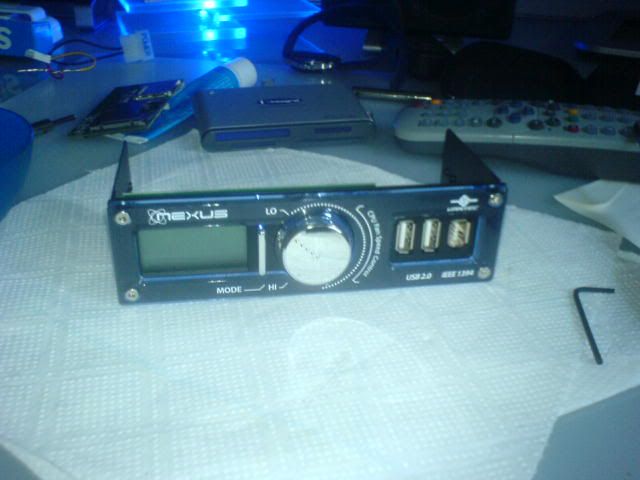
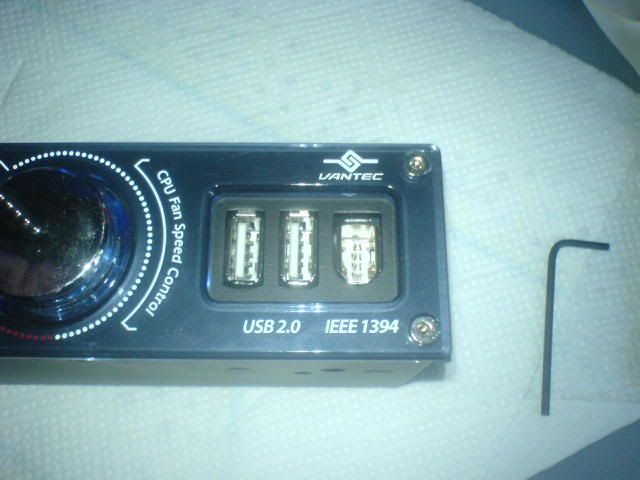
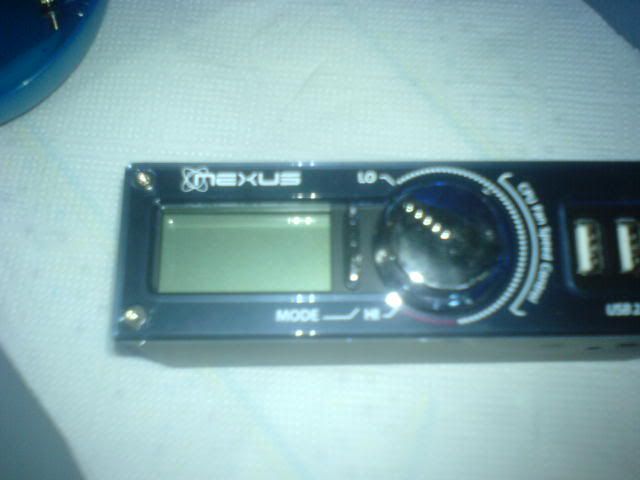
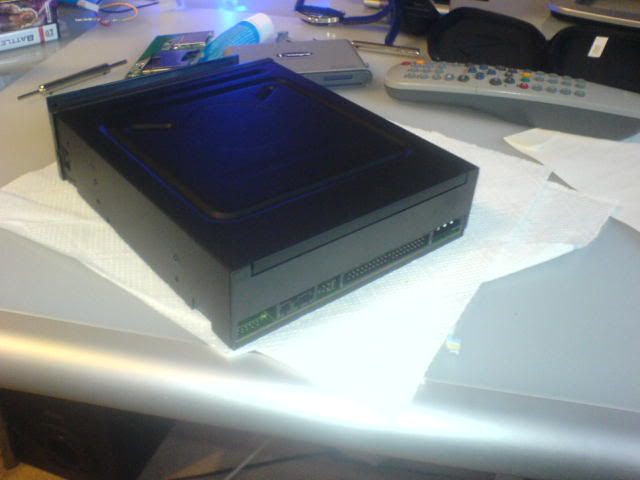
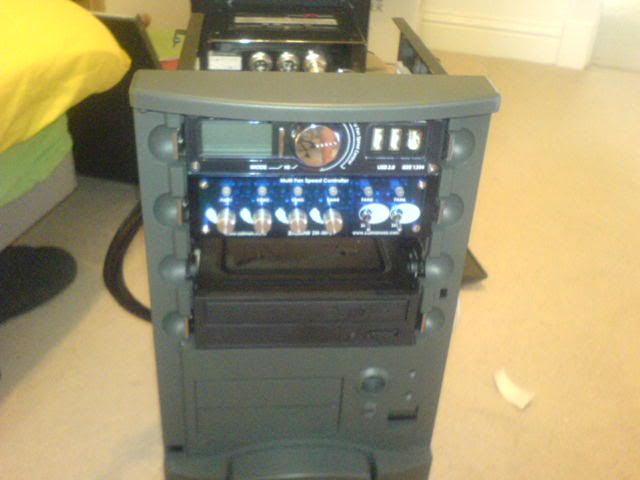
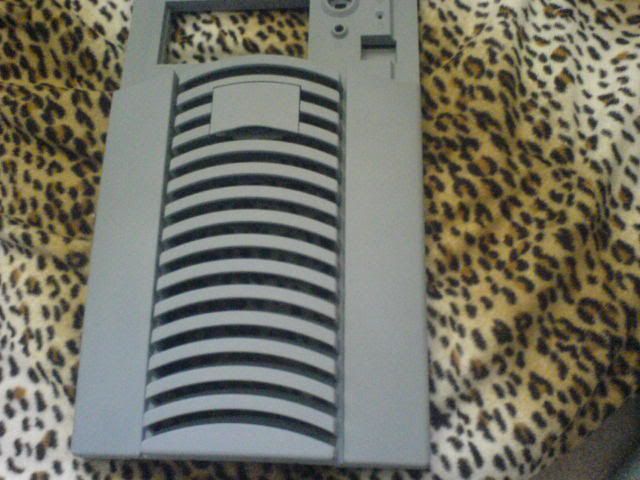
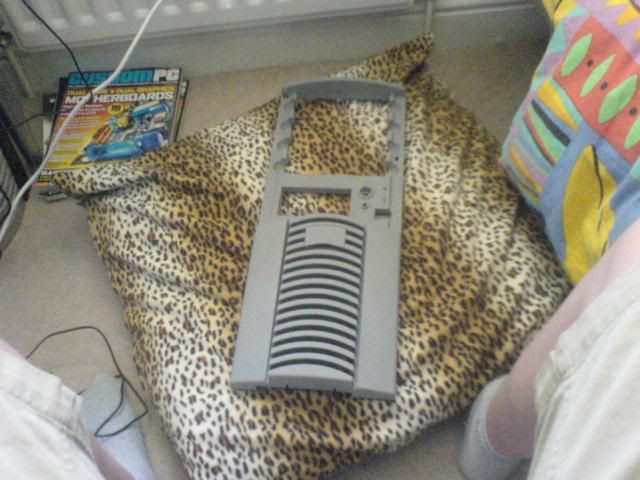
Rather wonky photo of front- Notice small flip up USB cover- to be replaced with small temperature read-out.

c.jpg
 

Mankz_91

New Member
Side panel with fan mounts- these will go in due-course and will be replaced with an acrylic window

d.jpg


Suprisingly roomy case for really quite small dimensions.

e.jpg


Yay!!! – 120mm Fan mount- meant to be 2 x 80mm , but a 120 is better!

----------

Right- Now time to go Downstairs and start with some modding !!!

k.jpg


Good music never hurts…..

h.jpg


First off, Taking out the HDD racks pop-rivets with a 4mm Drill bit-

i.jpg


Nicely done.

l.jpg


Quick blast with some sharp things-

m.jpg


Todays work bench (my Trunk)

o.jpg


After some Dremeling and filing

r.jpg


After yet more filing-

Now, all it needs is some blow-hole trim and a fan / fan guard.


AJ.
 

Mankz_91

New Member
YAY-

Someone who values my work! This one is set to be my major mod- I actually want to go back to school, so that i can use the tools!- Ive put in an order for some modding bits ...ect... and they should be here on wednesday!

AJ.
 

Mankz_91

New Member
More picceys tonight!
..........
Today - Sanding frount bezel.
Marking out Were to make cuts for Rad.
Contacting painters (you cant see photos of that).
Another cut on my bl**dy finger.

AJ.
 

Mankz_91

New Member
Right- Photobucket is being gay and has deleted some of my picceys, but im too lazy to re-load them so..here goes

Today, i started with a little sanding and filling on the bezel-

DSC00214.jpg


You probubly cant see much anyway- then the Painters told me that they would fully sand it all down, so i stopped.

DSC00217.jpg


Naked case Porn!!!
DSC00215.jpg


Got board an took the bottom off-

DSC00219.jpg


I then tried to mount the first fan-

but some bits of the fan guard got in my way so....

DSC00220.jpg


From this-

DSC00221.jpg


To this

DSC00222.jpg


and finally this.

AJ.
 

Mankz_91

New Member
Right, Photoucket is now semi-working-


DSC00226.jpg


Moment of truth!!! It Fits !!! (looks wonky cos the back of the fan is broken (ie. not straight))

DSC00227.jpg


It fits here too!!!

DSC00228.jpg


Looking good with frount bezel!!

DSC00225.jpg


Still needs Jig-sawing out thought!!!

- now time for my favorite past-time-.....

DSC00223.jpg


Cleaning up!!!


Good Night People..........


AJ.
 

Mankz_91

New Member
Today i decided i would make everything in this case Black, or as dark as possible...

DSC00091.jpg


DSC00096.jpg


I started off stripping the Fan Controller, so that its ready for painting...

DSC00097.jpg


The Metal bracket after painting ( 2 coats of Matt with 800 grit between)

DSC00098.jpg


With the Daughterboards in...

DSC00101.jpg


And with the aluminium fascia and platic bits...

DSC00102.jpg


DSC00104.jpg


DSC00105.jpg


I'm uploading the rest of the picceys for the other bits done.


AJ.
 

jancz3rt

<b>VIP Member</b>
Nice :)

I am liking this :) Good job. When would you expect to have all of it done by? I can't wait to see the thing done.

JAN :D
 

Mankz_91

New Member
DVD Drive... and Insides of Case

I also took apart the DVD drive, and gave it 2 coats off Matt.

DSC00106.jpg


DSC00107.jpg


DSC00108.jpg


DSC00110.jpg


The finish doesn't need to be amazing, just black so that it blends into the theme of the case

Speaking of the insides of the case.....:

DSC00111.jpg


DSC00112.jpg


DSC00113.jpg


DSC00114.jpg


This is only one coat, with a very thin layer of Primer. I'll eventually apply another coat, but only near the end of the project...

Hope you enjoy...

AJ.

_ I want this all to be done by the end of the summer, and as its Conroe, its basically depending on when i can get the hardware....
 

Mankz_91

New Member
it cost me £25 for the case, £8 for the Fan controler and £ 15 for the DVD-RW (all of eBay and unused) and ive used about £10 of paint..

its not all about money, the modding for this is fairly cheap and easy, the hardware and cooling are expensive....
 

Mankz_91

New Member
Today, i finally found the drive-rails for the case, and when it came to test fitting the drives, i was very suprised how good they were, all it needed was a quick squeeze on the metal progs, and out they came.. to be honest, i love this case, and would reccomend it to anyone. Its about £40, but has no fans, removable mobo-tray and is made of steel, but its the perfect size and has features....

well, i decided in a moment of madness that i needed to use a second FC, so i whipped out my Zalman FC from its box and shoved it in...

DSC00125.jpg


The 4 dials will be for the push / pull fans and i will try and get the 5V / OFF / 12 V switches for the Cold Cathode power things... ( i hope!¬!!)

DSC00121.jpg


DSC00122.jpg


Its quite small, this case, and eventually, the PSU will be a OCZ 600W new thing....

DSC00123.jpg


DSC00118.jpg


the driverails still need painting, but im not sure f it would look better..


opinions?

DSC00120.jpg


Now, back to BF2

AJ.
 

Mankz_91

New Member
well, after some 200 grit quickly and one layer of primer and a bit more 600 Grit this is were we are upto..
DSC00130.jpg


DSC00129.jpg


DSC00128.jpg


please dont take the rip out of my fake leopard skin cushion, my mum made it for me...

now, back to my current life...

DSC00127.jpg


(ooohh love my viewsonic moniter....)
 

ChrisUlrich

Active Member
Dude that looks amazing! I thought Steel cases were nooo good?

I love what you're doing... I even love the cushion!

What kinda monitor is that? Looks perty!
 

ckfordy

banned
ChrisUlrich said:
Dude that looks amazing! I thought Steel cases were nooo good?

I love what you're doing... I even love the cushion!

What kinda monitor is that? Looks perty!

The monitor is a viewsonic.
 

Mankz_91

New Member
i've put the first layer of black on the frount and it looks suprisingly good..

thanks people- and no, steel cases arn't bad, just heavy compaired to the new light aluminium cases.

Its a Viewsonic VX924 and its about 6 months old. Best £300 i ever spent.
 
Top